How to tell if a strip light has blown is a question many homeowners face, especially when their once vibrant lighting suddenly dims or flickers. This common problem can disrupt the ambiance of any space, leaving you in the dark—literally and figuratively.
Addressing this issue is vital not only for maintaining your home’s aesthetic appeal but also for ensuring energy efficiency and safety. Ignoring the signs of a blown strip light can lead to increased energy bills and potential electrical hazards.
Fortunately, there are several solutions and insights available to help you identify and resolve these issues quickly. From checking connections to understanding the lifespan of your lights, this guide will provide you with the tools you need.
Stay tuned as we delve into expert tips and practical advice that will empower you to keep your home brilliantly illuminated and safe.
Visual Inspection

Begin with a thorough visual inspection, engaging your keen eye to detect visible signs of malfunction.
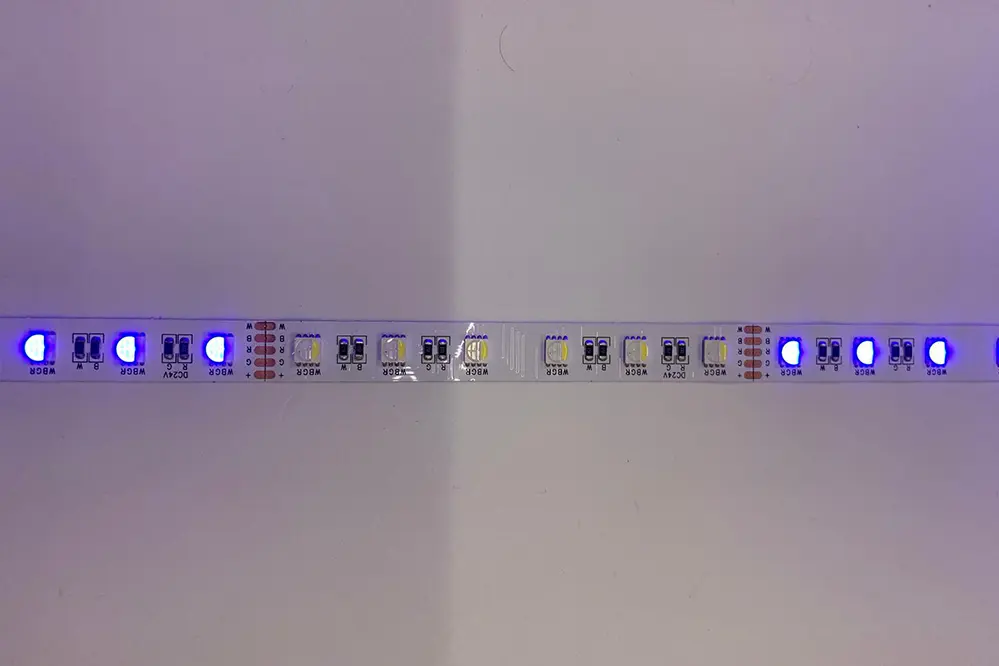
First, observe the strip light closely in a well-lit environment to identify any physical damage, such as broken sections, darkened areas, or areas that appear scorched. These blemishes can indicate overheating or electrical failure, both potential perpetrators for a blown strip light. Attention to these visual cues can swiftly reveal whether further investigation is warranted.
Moreover, check for any sections of the strip that may be dimmer or completely non-illuminating compared to the rest. An uneven light distribution can be a telltale sign that certain segments may have blown, necessitating replacement or repair. Ensuring the power is off during inspection can provide safety and precision during this examination.
Additionally, pay close attention to connections and power sources as these often hide a key to understanding the strip light’s status. Look for any loose wires or degraded connectors, as these can break the electrical circuit causing the strip light to fail. Addressing these components with care can not only troubleshoot but also extend the life span of your lighting system while fortifying a sense of accomplishment in your troubleshooting prowess.
Check for Flickering

Observing flickering in strip lights can, quite often, be a clear indicator of an underlying issue. Flickering is a commonly identified symptom, suggesting a potential electrical malfunction that might require attention.
Such intermittent flashes point to the strip light experiencing problems with its internal components. In contrast, consistent lighting ensures stable performance and longevity.
Importantly, flickering could signal poor connectivity within the strip light or issues with power supply consistency (considering voltage fluctuations and surges). Such conditions merit a thorough examination.
These interruptions tend to disrupt both efficiency and aesthetics, diminishing light quality, which impacts overall satisfaction. When investigating flickering, it’s crucial to evaluate power sources and connections meticulously, ensuring all components are functioning cohesively.
By effectively diagnosing the root cause of the flickering, you empower yourself to implement solutions, paving the way for optimal lighting performance. This proactive approach boosts not only system efficiency but also infuses confidence in managing future maintenance.
Ultimately, staying vigilant about flickering can considerably prolong the lifespan of strip lights. Embracing proactive maintenance helps circumvent potential disruptions, ensuring seamless and enduring illumination for your environment.
Listen for Buzzing Sounds
When evaluating the condition of your strip light, auditory cues can be particularly revealing. Have you noticed a peculiar buzzing sound?
Recent years, certain studies, including a valuable publication from industry experts, discovered that consistent buzzing often indicates transformer issues. Such issues not only affect light quality but may specify underlying technical concerns that warrant immediate attention.
So, it’s an astute move to be not only observant of what’s visible but also deliberately attentive to the sounds emanating from your lighting equipment. Trust in your sensory toolkit, where hearing becomes as vital as seeing, to detect these subtle auditory indicators.
Listening to the hum of your strip light could potentially carry you to the pinnacle of its efficiency. Addressing buzzing not only prolongs the lamp’s life but the gratifying serenity that an optimally lit space promises.
Paying attention to these signs can enhance your capacity to maintain superior lighting performance consistently.
Test with a Voltage Meter

A voltage tester is an invaluable tool in determining whether your strip light has blown. It allows you to measure the electrical current.
In the intricate world of lighting, accurate diagnostics are paramount. Utilizing a voltage meter, this essential device empowers you to accurately assess the flow of electricity within your strip light system, helping detect any discrepancies or interruptions in power.
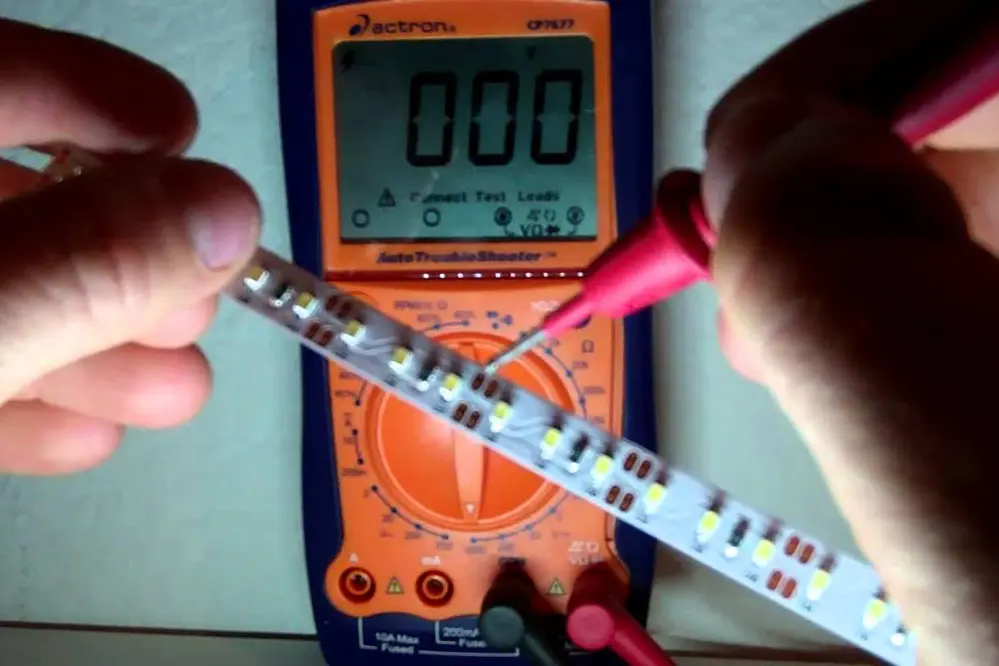
To begin, ensure both safety and precision remain your priorities. Turn off the power to your lighting circuit, securing your environment, then use the voltage meter’s probes to test both ends of the strip light for electrical continuity.
If the voltage meter reveals zero current, it indicates a break in the circuit, suggesting the strip light has indeed blown. Otherwise, if the reading is within the expected range, the issue may lay elsewhere along the line.
Armed with this information, you can confidently address any issues, potentially extending the life and efficiency of your lighting.
Inspect the Power Supply
When diagnosing a potential issue with your strip light, the power supply is a logical element to inspect. Begin by ensuring the power source is properly connected to the strip light.
Verify that there are no loose wires or disconnected cables, which might cause power disruptions.
Additionally, check whether the power supply unit itself is functional, using a multimeter for accurate assessment.
Confirm that the power supply’s output matches your strip light’s voltage specifications, preventing any damage or inefficiency.
A mismatched power supply can lead to improper functioning or even cause the strip light to blow, making it crucial to verify compatibility. Review the manufacturer’s guidelines for the recommended power settings.
Ultimately, this step not only aids in diagnosing issues but also reinforces a proactive approach to maintaining your lighting system’s optimal performance.
Observe for Color Changes
A noticeable change in color can serve as a quick indication that something is amiss with your strip light.
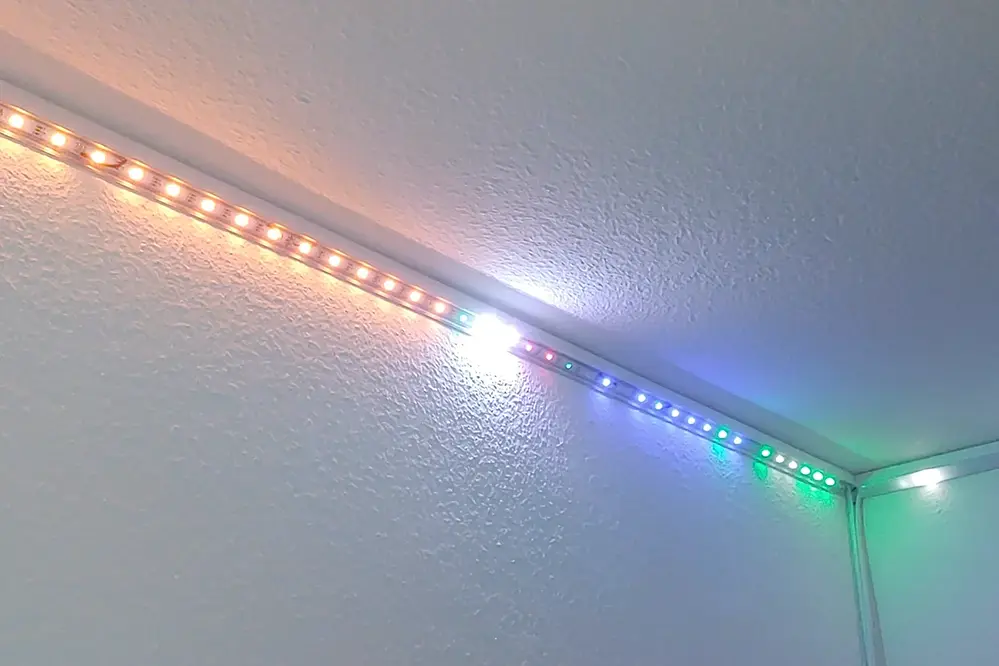
Initially, if you observe segments of your strip emitting a different hue than expected, this discrepancy may signal an underlying issue. Consistent and uniform light emissions indicate healthy functioning, whereas irregular colors can signify problems such as voltage imbalances or damaged LED chips. These variations are not just aesthetic anomalies but can sometimes reflect deeper, more systemic malfunctions.
Intriguingly, these color deviations may also indicate a gradual failure of some LEDs. As certain sections may start to dim while others retain their initial brightness, it’s a striking illustration of how underlying technical complications can manifest visibly.
In summary, any unexpected alterations in color provide powerful diagnostic clues that warrant further exploration, either through professional assessment or by consulting detailed user guides. Staying attentive to these color cues enhances your ability to preemptively address potential inefficiencies, ensuring that your strip light continues to operate at peak brilliance.
Examine for Damage or Discoloration
When assessing your strip light, visible damage, a change in color, or diode failure can indicate potential issues with its functionality.
In the realm of LED lighting, any physical deformities or discoloration might reveal underlying problems. Start by looking closely at the strip and checking for any obvious signs of wear or burns, as these can be indicative of electrical faults.
Additionally, discoloration such as yellowing or scorching on the strip material may suggest overheating. This could arise from issues like faulty circuitry or excessive voltage. Catching such problems early can prevent further damage and extend the lifespan of your lighting.
As you inspect, pay attention to the integrity of the strip’s alignment and its connections. If you notice any peeling or loosening, it might be a sign of degraded adhesive or compromised attachments, likely affecting the light’s performance.
By diligently inspecting for both damage and color changes, you empower yourself to maintain your lighting environment’s safety and efficiency.
Verify Connection Points
When determining if a strip light has blown, an essential step is verifying the connection points. A faulty connection can often be the root cause of an inoperative strip light and is typically easy to address.
In 2023, industry trends revealed that many strip light failures stem from loose or improperly secured connections. These issues arise from production variances, environmental factors, or simple wear over time. Identifying these can often bring a swift resolution to lighting malfunctions.
To assess, it’s vital to ensure that your strip light’s connectors are securely attached. Gently tug at both ends to see if they’re snugly fitted. If any connection appears loose, carefully reattach it for optimal performance, possibly boosting your entire setup’s efficiency.
Secure connections provide a stable flow of electricity to all segments of your lighting fixture. Maintaining these points in perfect condition guarantees that your strip light functions at its best, lighting up your space consistently.
In conclusion, never underestimate the power of a simple check on connection points. It could be the key to revitalizing your lighting setup.
Assess the Strip Light Length
When tackling the task of determining whether a strip light has blown, assessing the length offers an invaluable diagnostic approach that can illuminate potential issues. Evaluating each segment of the strip light is fundamental.
Begin by visually inspecting the entire strip to pinpoint any inconsistencies. Look for segments that are darker than others or have entirely gone out.
In some cases, a single segment might cease to function, indicating an internal issue like a broken circuit. Also, look for any discoloration around the nodes.
Should you notice a faulty segment, this could signify a localized problem. Sometimes, it is as simple as a compromised connection or physical damage in that specific section.
To truly diagnose the issue, ensure you measure the strip against the power source’s recommended capacity. Should the strip exceed this, it may lead to operational failures or blown segments.
Conclusively, assessing the strip light length not only identifies specific failures but also ensures your setup’s operational integrity. A thorough examination might just reveal the exact fix you need.
Try Repositioning the Light
Before jumping to conclusions about a blown strip light, try repositioning it. A simple shift in its position might solve the issue, sparking new life into your setup.
Simply readjusting the strip’s alignment can restore its magic.
Sometimes a gentle realignment can alleviate connectivity issues that cause the strip to flicker or dull out. This is often a quick check to see if there’s any change in lighting performance, brightness, or consistency, illuminating the real problem if present.
This repositioning technique takes advantage of the fact that a loose or misplaced segment could disrupt the entire circuit, leading to inconsistent lighting. If your strip light switches back on or stabilizes after you adjust its position, it is likely that the issue wasn’t with the light’s components but rather with how they were connected. So don’t hesitate—take charge and “poof” the problem away with troubleshooting panache.
Confirm with a Replacement Light
To confidently determine if your strip light has indeed blown, consider replacing the suspected faulty section with a functioning piece.
By swapping in a known operational strip or segment, you can quickly gauge whether the problem persists. Should the replacement light operate seamlessly, this suggests the original strip was compromised. This simple diagnostic test can save you from unnecessary replacements, unlocking new potential through definitive identification of the issue.
Moreover, this approach allows for a deeper understanding of your lighting setup. By methodically isolating sections, you gain insights into which components influence the system’s overall performance and which may require extra care or regular maintenance.
While conducting this test, ensure compatibility between strip types to avoid confusion. By maintaining strict adherence to specifications, you not only confirm the condition of your lighting components but also enhance your grasp on their operational integrity, signaling a bright pathway toward lasting, vibrant illumination.
Review the Installation Manual
Perhaps the simplest yet most critical step, consulting the installation manual can offer invaluable insights and solutions.
The manual, or user guide, often serves as a comprehensive resource outlining specific troubleshooting methods and diagnostics associated with your strip lights, aiding in accurate diagnosis. Reviewing this document can illuminate underlying issues that aren’t immediately apparent, providing the requisite knowledge for adept problem-solving. By revisiting these guidelines, you effectively equip yourself to address performance concerns with confidence and efficiency.
Additionally, it provides a framework for understanding technical terminologies related to strip lights. As each model may have unique features and requirements, the manual can help you decipher the intricacies that differentiate one system from another, ensuring that your approach is tailored and informed by the most accurate standards.
Finally, the installation manual empowers you with procedural insights on safely checking connections and components, thus optimizing their longevity. By ensuring a thorough and informed approach while adhering to manufacturer’s instructions, you significantly bolster your ability to maintain and troubleshoot your lighting setup, illuminating your space with unwavering brilliance and reliability.
Look for Water Damage
Water exposure can significantly compromise the integrity of your strip lights’ circuitry and cause malfunction, so it’s crucial to examine your setup regularly.
Adverse water effects may manifest into rust or discoloration around the affected areas.
Inspecting the surroundings for visible signs of water exposure could save you a myriad of future issues as it not only safeguards against a short circuit but also prolongs the lifespan of your lighting system. Should you find any indicators, promptly drying the area and reinforcing waterproofing measures can enhance safety and durability.
Taking proactive measures ensures the continued vibrancy and reliability of your lighting. This attention to detail can prevent costly repairs or replacements, transforming a potential setback into an opportunity for reinforcement. Therefore, integrating regular checks for water damage into your maintenance routine is a wise, forward-thinking strategy, maintaining the ambiance and stability of your illuminated space with confidence.
Check Compatibility with Fixtures
Ensuring compatibility between strip lights and fixtures is vital for optimal performance. Mismatched components can lead to premature failure, hampering your intended lighting setup.
In 2016, industry experts, in a pivotal lighting conference, highlighted how choosing fixtures ill-suited for your strips can contribute significantly to malfunctioning systems, or diminished light quality. Such insights underscore the importance of selecting compatible products.
Now, it’s not just about aesthetics; the fixture’s capability to handle a strip light’s technical needs is crucial. Assessing the wattage, voltage, and connector types of your chosen lighting and fixture can avert many compatibility pitfalls.
Given the advances in the lighting industry, ensuring that your fixtures don’t date back to 2013, with obsolete connections and power requirements, can provide assurance and peace of mind for future installations.
Investing time to learn which fixtures best suit your strip lights can streamline maintenance and elevate your interior decor.
When to Consult a Professional
If your strip lights are failing to illuminate after basic troubleshooting, it’s wise to evaluate the expertise of a professional.
Electrical work can have hidden complexities that novice tinkerers may not fully grasp.
Should there be persistent issues or if your lighting system involves intricate setups connected to a network of other devices, enlisting the help of an expert ensures a thorough investigation, prevents further damage, and improves safety.
The advantage gained from a professional touch not only ensures the longevity of your strip lights but also grants you an opportunity to expand your knowledge with detailed insights. By opting for professional guidance, you align yourself with an invaluable resource capable of transforming your vision into a vibrant reality, thus fostering an inspiring environment without needless compromise.
Conclusion
In conclusion, effectively determining whether your strip light has blown involves a few straightforward steps.
By understanding the signs of a malfunctioning strip light and knowing how to troubleshoot these issues, you can maintain a well-lit and inviting space. Remember to check for issues such as broken connectors or visible disconnections, which can quickly indicate a problem. When you engage in this proactive approach, you’ll not only ensure your lights function optimally but also extend their lifespan significantly.
Furthermore, staying informed and attentive to these minor details empowers you to take charge of your surroundings. This vigilance allows for a harmonious integration of technology and design in your home or workspace.
Ultimately, by capitalizing on the knowledge of diagnosing strip light issues, you take significant strides toward cultivating an atmosphere that is both engaging and functional. Remember that a touch of due diligence can illuminate not just a room but also enhance your quality of life, lighting the way to a brighter, more inspired future.


