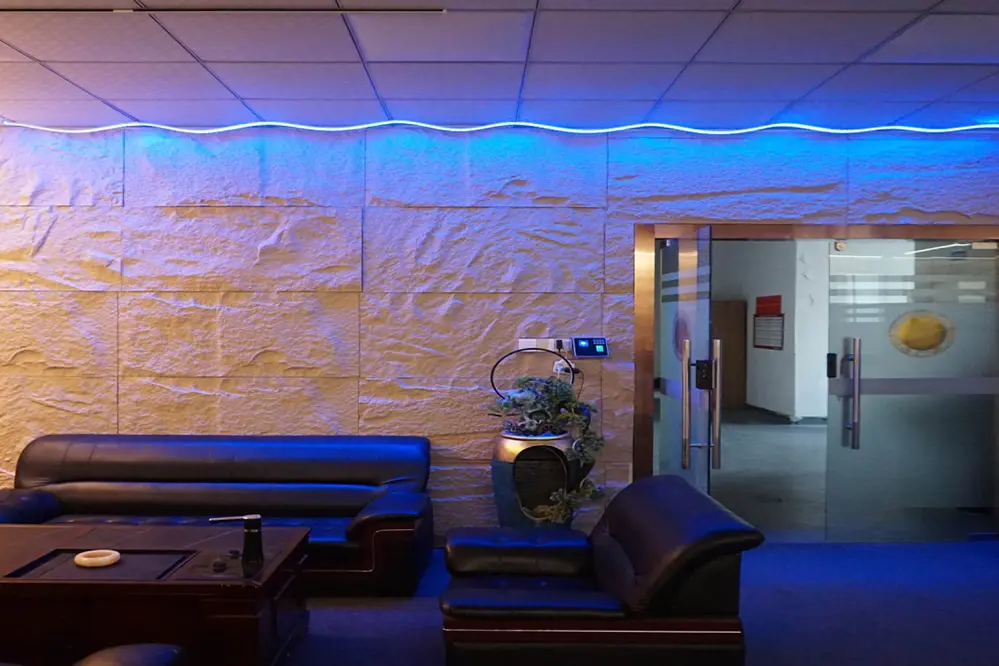
When Sarah installed her new LED strip lights, she was thrilled with the vibrant ambiance they brought to her living room. However, her excitement quickly turned to frustration when the LED strip wouldn’t turn off, leaving her with an unintentional nightlight. This common issue can disrupt not only your lighting plans but also your peace of mind. In fact, a recent survey revealed that over 30% of LED strip users encounter similar problems, highlighting the importance of understanding how to troubleshoot these issues effectively.
Addressing this challenge is crucial, as LED strips are increasingly popular for their energy efficiency and versatility in home decor. Yet, when they malfunction, it can lead to unnecessary energy consumption and potential safety hazards. Understanding the root causes and solutions can save time, money, and energy, ensuring your lighting system functions as intended.
In this article, we’ll explore the reasons why your LED light strip won’t turn off and provide practical solutions, such as checking the switch, to resolve the issue. Whether you’re a DIY enthusiast or a homeowner seeking reliable lighting, you’ll find valuable insights to help you regain control over your LED strips. Let’s dive into the world of LED troubleshooting and illuminate your path to a brighter, more efficient home.
Common Causes of LED Strip Issues
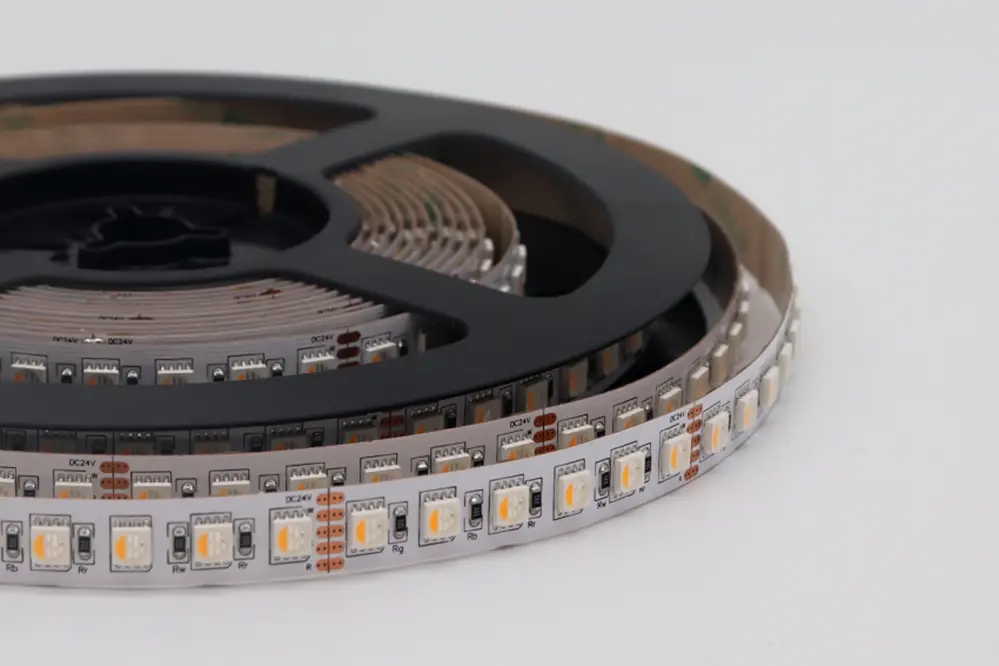
Several factors might prevent your LED strip from turning off.
Faulty power supplies, incorrect wiring, or remote control issues are frequent culprits. These factors can lead to the constant illumination of your LED lights, causing them to remain on when they should be off. Consequently, understanding the root of these problems is essential to addressing and rectifying them effectively.
The need for rewiring often arises from incorrect setup.
Check for damaged or frayed wires—these can not only cause the lights to remain on but also pose a potential safety hazard if left unaddressed. By inspecting the connections, you can pinpoint where adjustments need to be made, ensuring proper function.
The technical attributes of LEDs and their controllers sometimes result in unique challenges. However, your indefatigable spirit and problem-solving skills will undoubtedly lead you to a solution. Regular maintenance checks and a bit of perseverance can transform these challenges into learning opportunities, fortifying your expertise in LED strip management.
Checking Power Supply to LED Strip
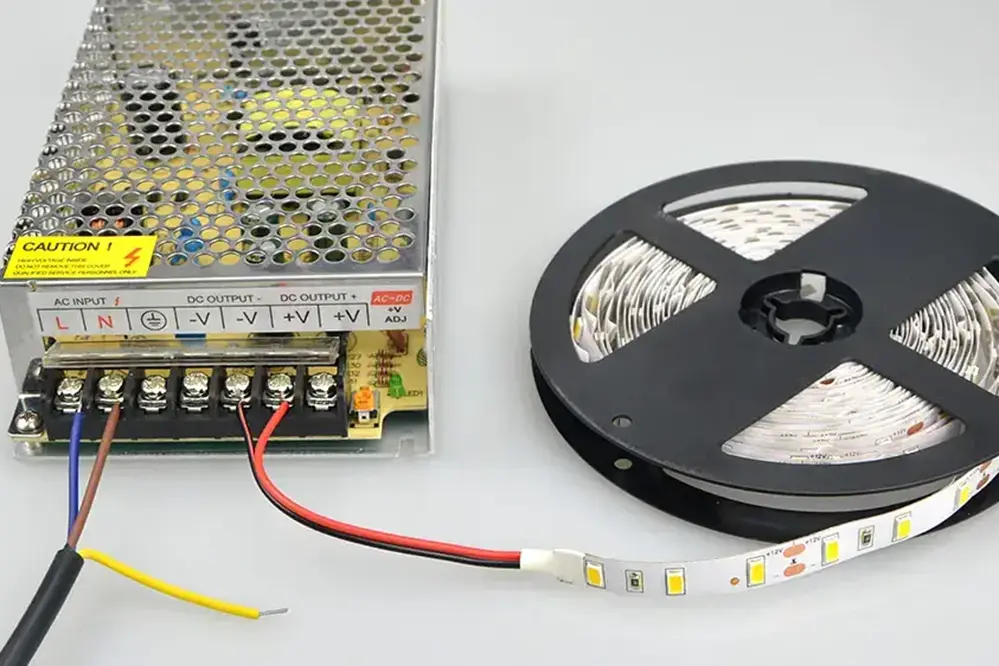
Addressing the LED strip’s power source is crucial; an overloaded or misconfigured power supply may cause persistent illumination. Verify that your power supply matches the LED strip’s voltage and current requirements, checking connections for any irregularities or miswirings. By confirming correct specifications and firmly securing connections, you take a definitive step towards resolving the issue, ensuring your LED installation operates smoothly and efficiently.
Ensure Adapter Compatibility
When your LED strip won’t turn off, a mismatch in adapter compatibility could be the hidden culprit. Ensuring your adapter matches the LED strip’s voltage rating is paramount to prevent malfunctions.
A mismatch can lead to persistent lighting, so verify the “constant on” issue isn’t due to an incompatible adapter. Double-check that the adapter’s output specifications align with the LED’s requirements.
Consistent powering issues can often be traced back to using a non-compatible power adapter with LED strips.
To guarantee seamless integration, always refer to the manufacturer’s guidelines on power requirements. Adopting compatible power solutions not only enhances performance but also extends the longevity of your LED setup. Your proactive adaptation of best practices exemplifies technical finesse and foresight in LED management.
Confirm Power Source Stability
Stability in power delivery is crucial for ensuring that your LED strip adheres to your desired control commands.
In recent years, advancements in power supply technology, particularly in voltage regulation, have significantly reduced issues associated with unstable power sources. However, if your LED strip won’t turn off, it’s worth investigating whether fluctuations in the power source are causing electrical noise that can interfere with your LED strip’s functioning.
To assess, it’s essential to confirm your power supply’s output is stable. Use a multimeter to check the voltage and current consistency. If you discover irregularities, these fluctuations might be perpetually keeping your LED strip on, which could be the root of the problem.
Furthermore, upgrade to a power supply with enhanced protection features. Look for those with surge protection and reliable thermal management, aspects that guarantee unwavering electrical delivery and safeguard against potential disruptions.
With dependable power, you are much more likely to achieve precision in control, illuminating your environment exactly as envisioned.
Inspecting LED Strip Connections
Carefully examining the connections of your LED strip can be a game-changer in resolving issues, like when your LED strip won’t turn off. Secure connections are paramount; therefore, ensure each connector is tightly linked and free from corrosion or damage that may disrupt the circuit.
To explore the potential of a loose wire, consider using a “continuity check.” This is achieved with a multimeter set to detect signal interruptions. If you find any inconsistencies in the circuit, reestablish the connection and test the strip again, ensuring a smooth electrical flow that will empower proper functionality. By taking these meticulous steps, you foster a reliable lighting system that remains under your control.
Review Wire Connections
Initiating a thorough examination of your LED strip’s wiring is a strategic step toward ensuring optimal performance and illumination control. Begin by gently tugging on each wire connection.
This act verifies if connectors are securely fastened and free from any potential disruptions.
Carefully inspect each connector for visual signs of wear or damage, bearing in mind that (especially within intricate installation environments) even subtle impairments can be significant.
Ensure no insulation is damaged, which could lead to unintended behavior like the LED strip staying on when it should not.
In scenarios of unexpected lighting issues, scrutinize the power source connections, guaranteeing they are correctly positioned, particularly if you are connecting via additional accessories such as amplifiers, a control box, and controllers.
Confidently, you can say that after all checks are completed, you’ve laid a strong foundation for diagnosing why the led light strip won’t turn off. Reliable wiring connects the heart of your lighting system, ensuring optimal connectivity for efficient operation.
Look for Damaged Sections
The physical integrity of your LED strip is paramount in diagnosing why your LED strip won’t turn off.
Attention to detail is crucial; carefully inspect the LED strip along its entire length for any obvious signs of damage. This might include breaks, cracks, or any sort of deformities in the LED strip itself.
Particularly in environments subject to frequent handling or potential mechanical stress, the LED strip can suffer from physical damage. Such issues can cause electrical shorts that may keep your LEDs illuminated continuously.
Gently handling the LED strip, look for areas where the strip feels loose or where the adhesive may have detached, indicating potential underlying damage. Additionally, examine any solder joints, as these can be failure points.
Taking these steps ensures your lighting system reaches its full potential and elevates the overall ambiance.
Examining Remote Control Functionality
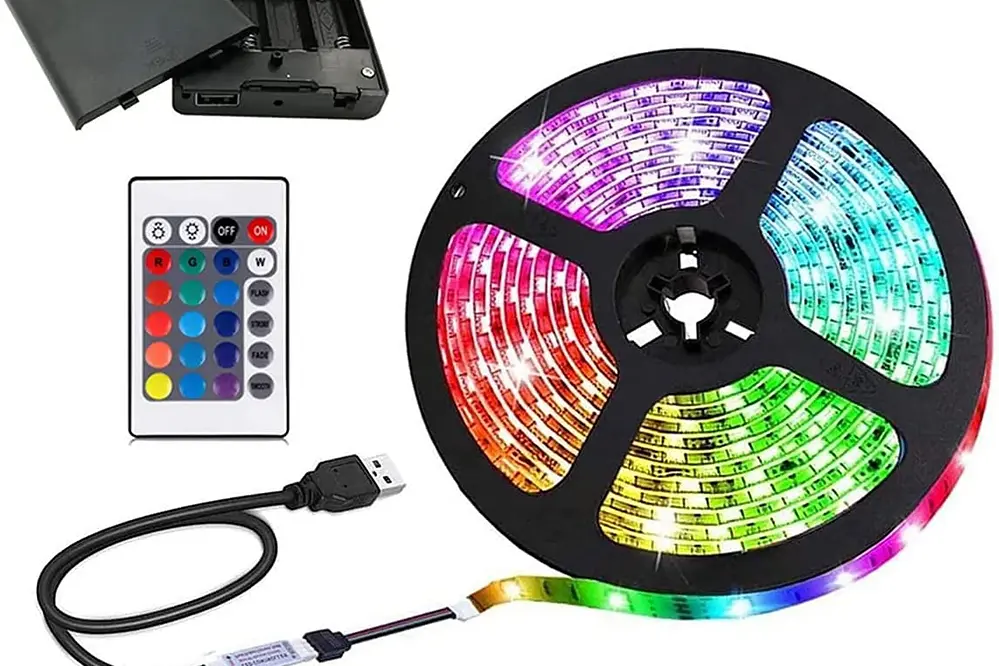
A properly functioning remote control is essential for managing your LED strip’s behavior and ensuring it operates as intended. If your LED strip won’t turn off, it’s time to look beyond the obvious, check the switch settings, and delve into the subtleties of your remote control, exploring its battery health, signal strength, and alignment, as well as investigating for any obstruction that might impede the infrared receiver’s ability to pick up signals.
Confirming that fresh batteries are installed and the path is clear can resolve many issues efficiently. This proactive approach empowers you to swiftly regain full control over your lighting experience.
Test Remote Control Batteries
Remote control batteries are often the silent culprits behind unresponsive LED strips, making it imperative to check their condition.
- Open the battery compartment of the remote control.
- Inspect the orientation of the batteries to ensure they are positioned correctly.
- Remove batteries and visually check for any signs of corrosion or leakage.
- Replace old batteries with fresh, high-quality ones to ensure optimal power.
- Test the remote to verify if the LED strip responds as expected.
Testing batteries may seem simple, yet it can solve complex issues with LED operation.
Consider using a multimeter for a more precise reading of battery voltage, boosting troubleshooting accuracy.
Check for Obstructions in Signal
Signals might not reach their destination effectively.
If your LED strip won’t turn off, one vital inspection is for obstructions. The infrared signal from your remote control can be interrupted by physical obstructions or poor positioning. Ensure the path between the remote and the LED receiver is unobstructed, providing a direct line of sight for transmission, and banishing the common impediments that sneak into your setup.
Banish any physical barriers blocking the IR signal.
Such potential obstacles include furniture pieces, electronic devices, or even thick curtains. Relocate these items if they sit between your remote and the LED strip – an often-overlooked step that can yield swift improvements in signal reliability.
Lastly, environmental interferences such as direct sunlight or strong interior lighting, especially when using an awning, can confuse the infrared signals. By simply adjusting these conditions, like drawing blinds or angling lights away, you can foster an optimal environment. This not only refines the signal communication but also reinstates confidence in your LED control, creating an enlightened atmosphere.
Analyzing LED Strip Controller Settings
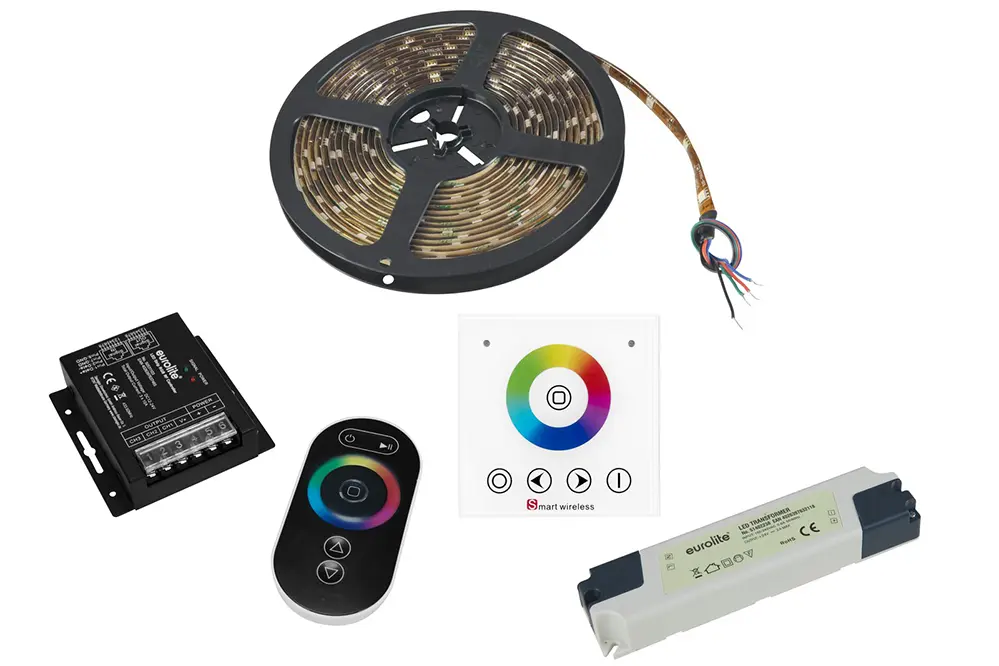
Embarking on the journey of analyzing LED strip controller settings unveils a world of parallel opportunities to fine-tune your lighting experience. Begin by meticulously reviewing the control settings; incorrect configurations or a faulty switch often lurk behind the enigma of why your LED strip won’t turn off. By simply configuring or resetting your controller to its default settings, you often uncover that the answer lies in the simplicity of seamless operation.
Configurational clarity emboldens the performance of your LED strip, ensuring harmonious interaction between its elements. Delve into user manuals or support forums for insights into advanced settings that optimize functionality.
Reset the Controller
A logical first step is resetting the controller.
This action often serves as the magic bullet that resolves persistent issues. By resetting the controller, you return all settings to their default state, which can often eliminate problematic configurations causing your LED strip won’t turn off. Fortunately, most controllers provide straightforward instructions on how to execute this reset with efficacy.
Consult the user manual for guidance.
Controllers typically exhibit simple reset methods—hold a button for a few seconds until you observe a flashing light, signaling a successful restoration process.
Engaging in this simple yet effective troubleshooting measure reestablishes optimal communication and operation within your lighting setup, allowing you to enjoy the aesthetics and functionality of well-controlled LED illumination. While advancements in technology as of the new year continually enhance this experience, foundational practices such as controller resets remain reliably effective. Keep this approach in your troubleshooting arsenal; it complements advanced exploration of settings and interventions that may come into play if initial attempts are insufficient.
Verify Mode and Timer Settings
When dealing with an LED light strip that refuses to turn off, checking the mode, switch, and timer settings is essential for pinpointing the issue.
Begin by revisiting the instruction manual to see if a particular mode is designed to keep the lights on indefinitely. Sometimes, these lighting strips can be put into demo or party modes, which persistently illuminate the strip regardless of manual attempts to switch them off. Identifying whether the LED strip is accidentally in such a mode can provide insight and resolve the situation efficiently.
Additionally, the issue could be a result of misconfigured timer settings. If you have set a specific time for the LED strip to stay on, it might be simply fulfilling that programmed function. Investigating the preset timers and ensuring they align with your desired schedule can easily curtail unnecessary illumination and promote energy efficiency.
Lastly, if persistent issues arise despite addressing the mode and timer, consider updating the controller firmware or reinstalling the control app if applicable. These updates often fix bugs and improve compatibility, potentially resolving the stubborn lighting issue. By verifying and adjusting these parameters, you harness the true potential of your LED’s flexibility, delivering unparalleled ambiance and control.
Testing Another Device with Power Source
When faced with the perplexing scenario of an LED strip that won’t turn off, leveraging a strategic approach can unravel potential power source issues, ushering in a reassuringly effective resolution.
First, methodically verify if the problematic LED strip shares its power source with any other devices.
Strikingly, should other devices fail to function as expected, consider using (or procuring) a multimeter to assess any discrepancies.
Carefully measure voltage to ascertain consistent output from the power source, dispelling doubts regarding power delivery.
The results might lead to uncovering that your power supply isn’t operating optimally, allowing you to initiate necessary steps for replacement and restoring proper lighting control.
Remember, the act of testing with alternate devices plays a key role in pinpointing faults, paving a path towards achieving seamless integration and illuminating elegance that aligns with your envisioned lighting experience.
Seeking Professional Assistance
Consider seeking professional help if needed.
Engaging a professional can save time and alleviate stress. They possess the experience to handle complex situations surrounding electrical components, such as an LED strip that won’t turn off. Moreover, tapping into their reservoir of expertise ensures a more precise diagnosis, enhancing the effectiveness of the troubleshooting process.
Experts have the advantage.
A certified technician will evaluate your setup holistically—encompassing compatibility and potential circuitry complications. This thorough approach not only identifies issues but provides clear solutions that align with the latest innovations in electrical compliance.
In moments of challenge, professional guidance emerges as a beacon, illuminating the path to a swift and robust resolution, while endowing you with newfound confidence in your optimized lighting system. Such specialists enhance the longevity and safety of your system, guaranteeing an enduring, luminous experience.
Preventing Future LED Strip Issues
Invest in quality LED strips.
Prioritize purchasing LED strips from reputable manufacturers. This simple decision not only assures the highest standards of electronic excellence but also extends warranties, providing an added layer of security. Furthermore, opt for those with certifications of adherence to the latest international safety standards, reducing the likelihood of recurring malfunction.
Maintain proper installation techniques.
Install LED strips following the manufacturer’s guidelines carefully.
Ensure they are in suitable locations. This not only prevents overheating but also aids in maintaining the longevity of connections due to correct installation practices. Proper adhesion and avoiding extreme bends will significantly contribute to their sustained performance.
Regularly update or recalibrate your control box and control systems to incorporate the latest technological advances, benefiting from innovations post-New year that streamline and enhance the LED strip experience. These updates imbue you with refreshed knowledge and innovative tools, preserving the inspired ambiance your lighting creates.
Conclusion
This article delves into the prevalent issue of LED strips that won’t turn off, a frustration experienced by over 30% of users. It begins with a relatable anecdote, illustrating how such malfunctions can disrupt both lighting plans and peace of mind. The narrative sets the stage for understanding the significance of addressing this common problem.
The importance of resolving LED strip malfunctions extends beyond mere convenience. These lighting solutions are popular for their energy efficiency and versatility in home decor. However, when they fail to turn off, they can lead to unnecessary energy consumption and potential safety hazards. Recognizing the root causes and implementing solutions is essential for maintaining an efficient and safe lighting system.
The article offers practical solutions and insights for troubleshooting LED strips, catering to both DIY enthusiasts and homeowners seeking reliable lighting. By exploring the reasons behind these malfunctions and providing actionable advice, readers are empowered to regain control over their LED systems, ultimately enhancing their living spaces with efficient and effective lighting.


