Have you ever wondered how to reset LED strip lights when they start malfunctioning? This common issue can be frustrating, but the solution is often simpler than you might think. Resetting your LED strip lights can resolve many problems, from flickering to color changes, ensuring your lighting setup remains as stunning as the day you installed it.
Many people face challenges with their LED strip lights, often believing that the only solution is to replace them entirely. This misconception can lead to unnecessary expenses and frustration. In reality, a simple reset can often resolve these issues, restoring your lights to their optimal performance.
Resetting your LED strip lights is not only cost-effective but also crucial for maintaining their longevity and functionality. By understanding how to perform this simple task, you can save time, money, and avoid the hassle of dealing with faulty lights.
In this guide, we will cover the key steps to reset your LED strip lights, including providing reset instructions, troubleshooting common problems, and offering practical tips for maintaining your lights. From identifying the root cause of the issue to executing a successful reset, we’ve got you covered.
Ready to bring your LED strip lights back to life? Read on to discover the easy and effective methods for resetting your lights and ensuring they continue to illuminate your space beautifully.
Importance of Resetting LED Strip Lights
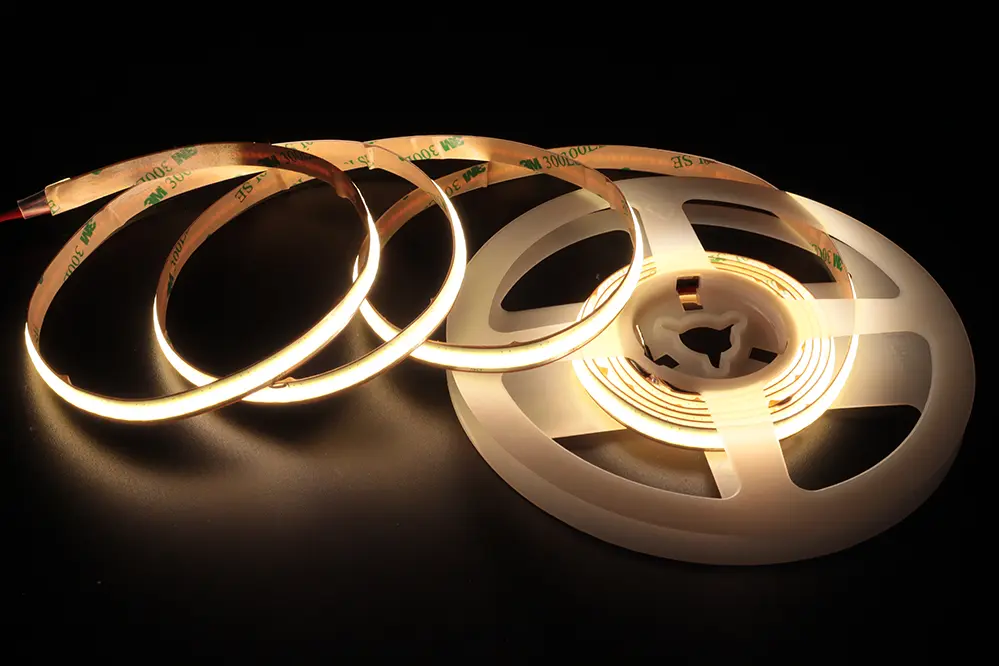
Resetting LED strip lights is fundamental for maintaining their optimal performance. By addressing glitches or connectivity issues, you can extend the lifespan of your lights.
Ensuring your lights operate without interruption brings peace of mind.
Additionally, a reset refreshes the system, clearing any software glitches that may have developed over time. This can result in a smoother, more radiant lighting experience.
Ultimately, the process of resetting can be the key to unlocking the full potential of your LED strip lights, ensuring vibrant displays that enhance your living or workspace environments. By investing a moment to reset, you pave the way for consistent, reliable brilliance.
Common Issues Requiring a Reset
LED strip lights occasionally encounter various problems that necessitate a reset.
One common issue is when the lights become unresponsive. This may manifest as lights that refuse to turn on, change colors, or respond to remote commands. Over time, these devices can accumulate small software errors that impede their functionality, and a reset can help clear these errors. Additionally, resetting might be necessary if you notice the lights randomly flickering or displaying uneven brightness.
Another issue is connectivity problems.
Sometimes, LED strip lights fail to sync with their corresponding control systems – whether that’s a smartphone app or a physical remote – resulting in operational inconsistency and loss of control. In such cases, resetting both the lights and the control system ensures they re-establish a seamless connection.
Finally, complex installations or multiple strings of LED lights may require a reset to ensure synchronized performance. Such setups can occasionally experience communication breakdowns or software conflicts. Performing a reset helps align the entire system, promoting an even and harmonious lighting arrangement that enhances the ambiance of your space. By addressing these common issues through a simple reset, you can effortlessly restore your LED strip lights to their intended brilliance.
Tools Needed to Reset LED Strip Lights
To reset LED strip lights, you’ll need a few essential tools and materials. These simple yet vital items ensure the process is smooth, effective, and safe.
The fundamental items include a power supply as a power source. You’ll also need a reset tool.
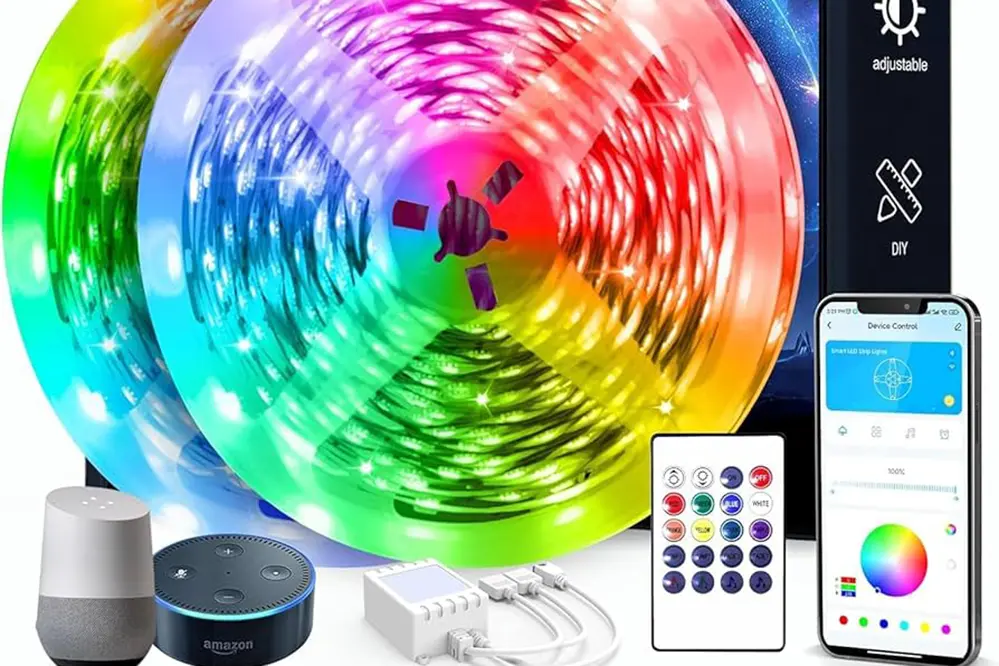
Additionally, a smartphone or a remote control can be indispensable, depending on the type of LED strip lights you have. USB or battery-powered LEDs, on the other hand, necessitate power-related tools.
Other specialized tools might include pliers for disconnecting electrical components or a screwdriver for unscrewing parts of the LED strip. It’s also recommended to have an instruction manual and a user-friendly app, if applicable, for identifying the specific reset sequence required. By ensuring you have these tools at hand, you can confidently begin the reset process and achieve optimal lighting performance.
Power Off the LED Strip Lights
Before initiating the reset process, ensure your LED strip lights are turned off to avoid electrical shock.
Firstly, it’s crucial to disconnect the power from your LED strip lights by locating and switching off the main power source. This step is fundamental, as it helps prevent short circuits and safeguards your electronic components from potential damage during the reset. Confirm that the lights are completely powered down by observing any indicators that may signal the presence of residual power.
Additionally, ensure that you have a safe, non-conductive workspace free from moisture. If necessary, unplug the power adapter from the wall outlet to eliminate any chance of electrical hazards. This thorough disconnection is an essential precaution, paving the way for a smooth and secure resetting procedure.
By carefully powering down your lights, you not only protect yourself from electrical risks but also prevent inadvertent damage to the LED strips. This meticulous approach ensures that you can confidently proceed with resetting your LED strip lights, enabling them to once again illuminate your space with their full potential.
Disconnect the Power Source
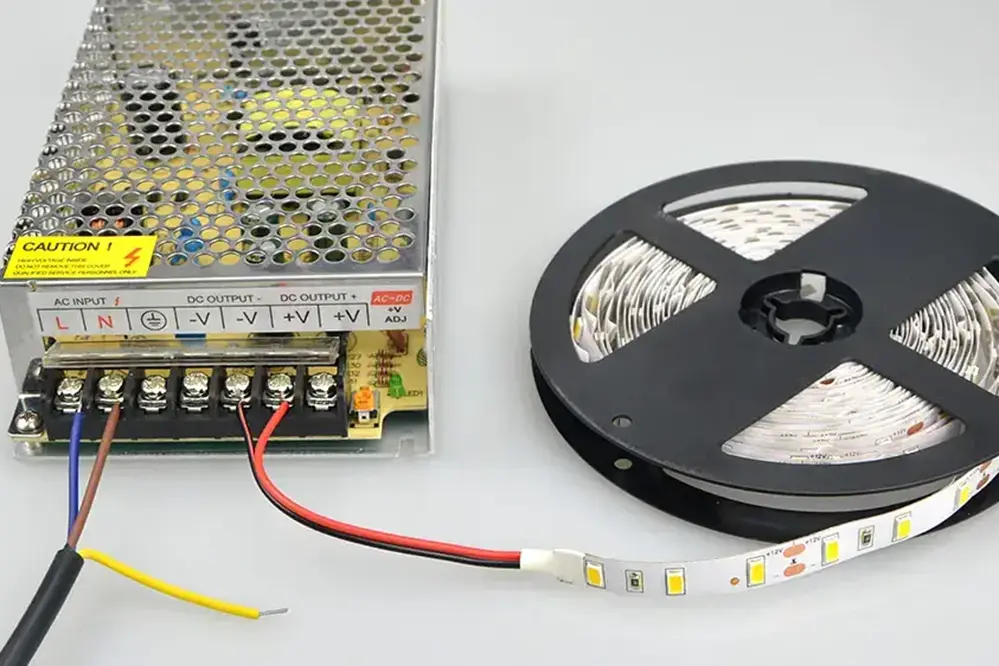
Before initiating the reset, it is imperative to disconnect the power source of your LED strip lights. Why might you ask?
Safety standards, a primary concern among electrical engineers, highlighted the critical importance of completely disconnecting LED lights from their power source before conducting any resets, ensuring safety and functionality.
So, it’s not merely about flicking a switch; it involves taking a comprehensive approach to power down the entire LED strip system to avoid any electrical mishaps and ensure a smooth reset process.
Confirm that no residual power is left. Visual indicators on the strip, such as light glows or blinking, should be completely absent before proceeding to the next step of the reset.
After ensuring power is entirely disconnected, you can confidently move forward, knowing that you’ve laid a solid foundation for a successful and safe reset of your LED strip lights.
Wait Before Reconnecting
After you’ve disconnected the power source, patience is your ally. Waiting for a few minutes allows any residual power and static electricity to dissipate.
This waiting period is crucial to ensure a thorough reset. Electrical components can retain minute charges, and allowing some time ensures these charges fully disperse, preventing potential malfunctions or inadvertent short circuits. This step enhances the longevity and optimal function of your LED strip lights by safeguarding them from sudden power surges.
During this wait, you can inspect the LED strip for any damages or loose connections. If there are any visible issues, now is the perfect time to address them. Proper maintenance at this stage can exponentially increase the efficiency and the lifespan of your LED strip lights.
Finally, this deliberate pause is also a good time to double-check all connections and ensure the power source itself is stable. By dedicating this moment to thorough inspection and consideration, you set the stage for a seamless reconnection, reinforcing the reliability and performance of your LED strip lighting system. Your preparedness not only guarantees success but also optimizes the aesthetic brilliance and durability of your lighting.
Reconnect the Power Source
Reconnecting the power is straightforward and pivotal.
Firstly, ensure that all your equipment is dry and free from dust. Any residual moisture or dust might pose potential hazards or interfere with the proper functioning of your LED strip lights. Therefore, wiping down the area and ensuring clean, dry surfaces is paramount before you proceed.
Once dry, align the power plugs.
Insert the power plug carefully and securely into the power source. It is crucial to ensure that the connection is firm and there are no loose ends. To ensure optimal performance and safety, double-check that the plug is fully inserted and that there’s no sparking or unusual sounds.
After ensuring a solid connection, switch on the power. This is the moment where your efforts come to fruition. Witnessing the radiant glow of properly functioning LED strip lights is a testament to your meticulousness and diligence. With everything in place, feel confident that your lighting system will now perform at its peak efficiency.
Power On and Test the Strips
Flip the switch on to power the LED strip lights. Do you see the vibrant glow?
Researchers discovered a significant correlation between meticulous setup processes and the superior performance of LED strip lights, affirming the importance of careful installation.
So, it’s not too much to ask whether your installation’s effectiveness is evident—a brilliant glow indicates your LED strips are configured correctly and ready for optimal functionality.
Observe the colors of the lights as they illuminate; ensure they are displaying evenly without flickering or dim areas. If there are any inconsistencies, it may indicate improper connection or a need for resetting the strips, impacting your enjoyment and trust in the setup.
Testing the strips ensures your hard work brings the envisioned luminous ambience to life, validating your commitment to excellence.
Resetting LED Strip Lights with a Remote
When faced with flickering issues or inconsistent colors, a reset is often the key to restoring optimal performance. Begin by turning off the LED strip lights using the remote. Next, press and hold the power button and another designated button simultaneously for a few seconds, usually until the lights flash or change color. This process typically returns your LED strip lights to their factory settings, allowing you to reconfigure the setup for the best results.
Locate the Reset Button
Finding the reset button on your LED strip lights is crucial for resolving technical issues. Typically, the reset button is small and strategically placed to be unobtrusive.
On most LED control units, the reset button is labeled as either “Reset” or “Restart.” It is often recessed in a pinhole which may require a pointed object, such as a paperclip, to press effectively.
Knowing the precise location of this button is imperative: it can usually be found near the input or output connectors, aiding in a seamless reset experience. Carefully consult the manual for your specific model, as the reset button location may vary.
Hold the Reset Button
Press and hold the reset button firmly.
For an efficient reset of your LED strip lights, it’s essential to press and hold the reset button firmly for several seconds. This action sends a clear signal to your LED control unit to initiate the reset process, ensuring that all settings revert to their default configurations, optimizing performance and usability.
Usually, you should expect some indicator.
The lights may blink or change color, confirming the reset.
This procedure, while seemingly simple, requires patience. Holding the reset button for the appropriate duration—typically around five to ten seconds—is key. Releasing the button too early may result in an incomplete reset, whereas holding it too long can safeguard against accidental resets.
With the reset procedure completed successfully, you will now have the unique opportunity to set up your LED strip lights anew, tailoring the configuration to meet your desired ambiance and functional requirements. This simple yet powerful maneuver revitalizes your lighting setup, showcasing the ingenuity and adaptability inherent in modern LED technology.
Resetting LED Strip Lights Using a Controller
Resetting your LED strip lights using a controller involves a straightforward sequence of steps. First, locate the reset button on your controller, often found near the power input. Once identified, press and hold this button for about ten seconds, ensuring your grip is steady and consistent to trigger the reset.
During this process, keep an eye on your LED strip lights as they may flash to indicate the reset has been successfully initiated. This visual confirmation ensures you’ve executed the steps correctly, allowing you to proceed with reconfiguring your lighting preferences.
Access the Controller Settings
Accessing the controller settings is a crucial step in managing your LED strip lights’ performance.
To begin, ensure that your LED strip lights controller is powered on and functioning correctly. Typically, this will involve connecting the power adapter to an electrical outlet and the controller itself.
Next, locate the “Settings” button on your controller. This button is often clearly labeled and positioned prominently on the device, designed for ease of access to the essential settings functionalities.
Press the “Settings” button to enter the controller’s settings menu. Here, you can adjust various parameters such as brightness, color configurations, and timing schedules, allowing you to customize your lighting to suit your specific needs and preferences.
Once in the settings menu, navigate through the options using the directional buttons on the controller. Select the appropriate settings, save your preferences, and enjoy the transformed ambiance created by your reset LED strip lights.
Perform the Reset Function
Resetting your LED strip lights ensures they function optimally and can address various operational issues.
- Power Off: Disconnect the LED strip lights from the power source.
- Reset Button: Locate the reset button on the controller.
- Press and Hold: Press and hold the reset button for approximately 5-10 seconds.
- Release: Let go of the reset button and wait for the lights to restart.
- Reconfigure: Once restarted, reconfigure your settings as needed.
This straightforward process helps refresh the system, restoring its default settings.
Regular resets can help maintain the longevity and performance of your LED strip lights.
Verifying the Reset Process
After completing the reset, verify it was successful.
Power on your LED strip and check for any initial issues. The strip should light up with its default settings, indicating a successful reset. Sometimes, looking at the lights’ behavior during startup, such as blinking patterns or color changes, can give clues about whether the reset was effective.
Additionally, navigational settings may confirm the reset.
Any previous configurations should be erased – so if your custom settings like colors or timers are back to their factory defaults, you know the reset was executed successfully.
Use this post-reset observation period to systematically ensure your lighting system functions optimally, confirming that your LED strip lights are ready to deliver a vibrant, customized ambiance once more. This confidence in knowing how to reset LED strip lights can empower you to tackle any future technical hiccups with ease and maintain an illuminated environment that caters to your ever-evolving needs.
Troubleshooting Reset Issues
If you encounter challenges while resetting your LED strip lights, don’t worry—solutions are at hand.
First, ensure your power connections are secure and functioning.
Next, consult the manufacturer’s instructions specific to your model. There may be nuances in the reset procedure that require careful attention. Any overlooked steps could impede the reset process.
Should problems persist, consider reaching out to customer support. Technical assistance can provide you with additional insights or troubleshooting techniques specific to your LED strip lights. An accurate diagnosis followed by expert guidance often resolves reset issues, ensuring your lights return to peak performance swiftly. Therefore, feel empowered to explore solutions, knowing that you’ve equipped yourself with the knowledge on how to reset LED strip lights effectively.
Conclusion
Mastering the process of resetting your LED strip lights enhances their functionality and longevity. Confidence and attention to detail are crucial, as each model may have unique requirements. By following the outlined steps, you can easily overcome technical issues and maintain an illuminated environment. This knowledge empowers you to optimize your living space, create striking visual effects, and enjoy seamless performance from your LED strip lights.
