Have you ever wondered how to get LED strip residue off without damaging your walls? This sticky predicament is more common than you might think. Many people struggle with removing adhesive remnants left behind by LED strips, often resorting to harsh chemicals or abrasive tools that can cause more harm than good.
Understanding the best methods for residue removal is crucial, as it not only preserves the integrity of your surfaces but also enhances the longevity of your home decor.
In this article, we will explore effective techniques, from natural solutions to specialized products, ensuring you have all the information needed to tackle this issue.
Join us as we delve into the world of adhesive removal, offering insights, cleaning tips, and practical advice to make your cleanup process seamless and stress-free.
Gather Necessary Supplies
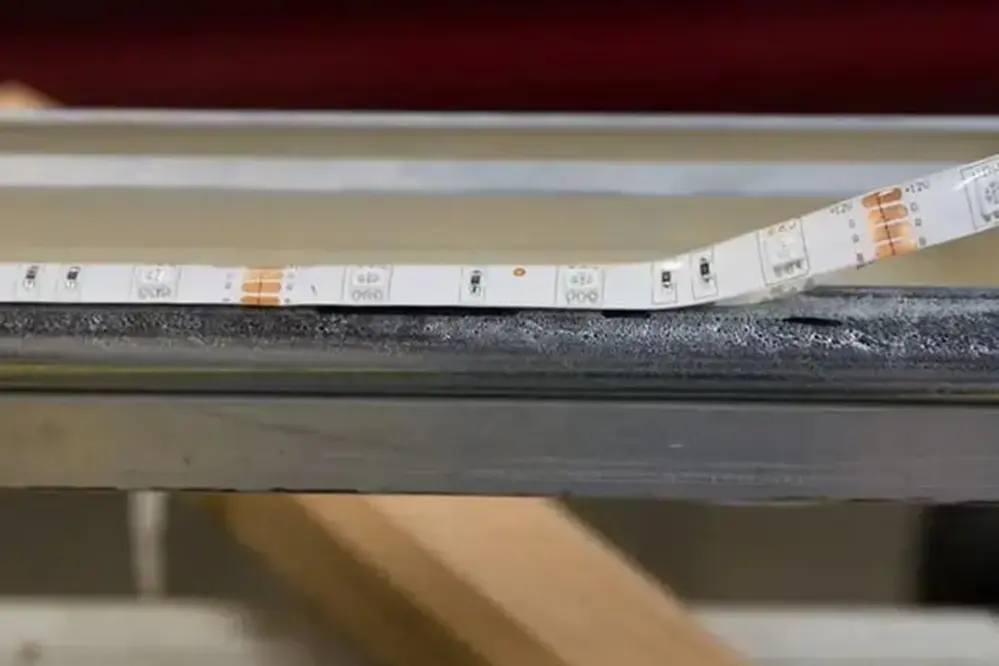
Before embarking on your mission to remove LED strip residue, ensure you have all the necessary tools at hand.
First and foremost, you’ll need some basic items such as a gentle adhesive remover, clean cloths, and a soft scraper. Adhesive removers are crucial, as they target and dissolve sticky residues without damaging your surfaces. Clean cloths, preferably microfiber, aid in wiping away loosened residue particles efficiently, leaving a pristine finish.
Additionally, you might consider utilizing a mild detergent solution for stubborn spots. By incorporating warm water and mild liquid soap, this solution can work wonders on more tenacious adhesive remnants, often succeeding where other removers may falter.
Ultimately, an organized approach in gathering these supplies lays the foundation for a seamless residue removal process, allowing you to reuse them effectively for any future projects. As you need each item, you’ll find their collective power invigorates your task with newfound ease and efficiency. Now, with supplies ready, you can confidently tackle any remaining LED strip residue head-on, transforming surfaces to their former glory.
Identify the Type of Surface
Knowing your surface can be crucial.
Before proceeding with the removal process, take a closer look. The type of surface on which the LED strips were mounted can greatly influence the removal method, making it an essential starting point for any residue-related task. Surfaces like painted walls, wood, glass, or metal each possess unique properties that require distinct approaches to ensure the residue is effectively eliminated without causing harm.
Surface specificity can simplify the removal process.
Knowing what kind of surface you are dealing with – whether it’s porous, smooth, delicate, or robust – will guide your actions in selecting the appropriate cleaning materials and techniques. This tailored approach minimizes risk, optimizing your results.
Each surface presents a unique challenge, often demanding personalized strategies to remove residues effectively while safeguarding its structural integrity. Surfaces like painted walls or polished furniture require a gentler touch to avoid damage, while metal or glass can withstand slightly more abrasive methods. By understanding these variances, you pave the way for a successful residue removal that leaves your surfaces replenished and untouched.
Warm Up the Residue
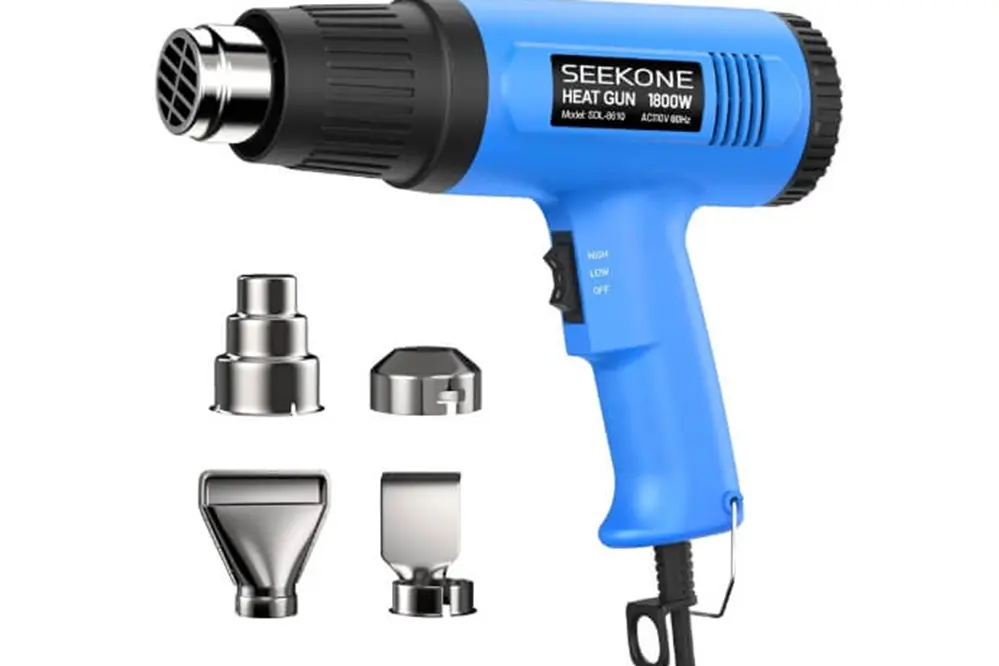
Harness the power of gentle heat to soften stubborn adhesive residue and facilitate its removal. Using a heat gun or hairdryer, set it to a medium, non-damaging heat setting, and direct the airflow over the residue for several minutes to make it pliable.
This technique helps in loosening the adhesive bond, allowing easy and efficient removal without compromising the integrity of the underlying surface.
Use a Hair Dryer
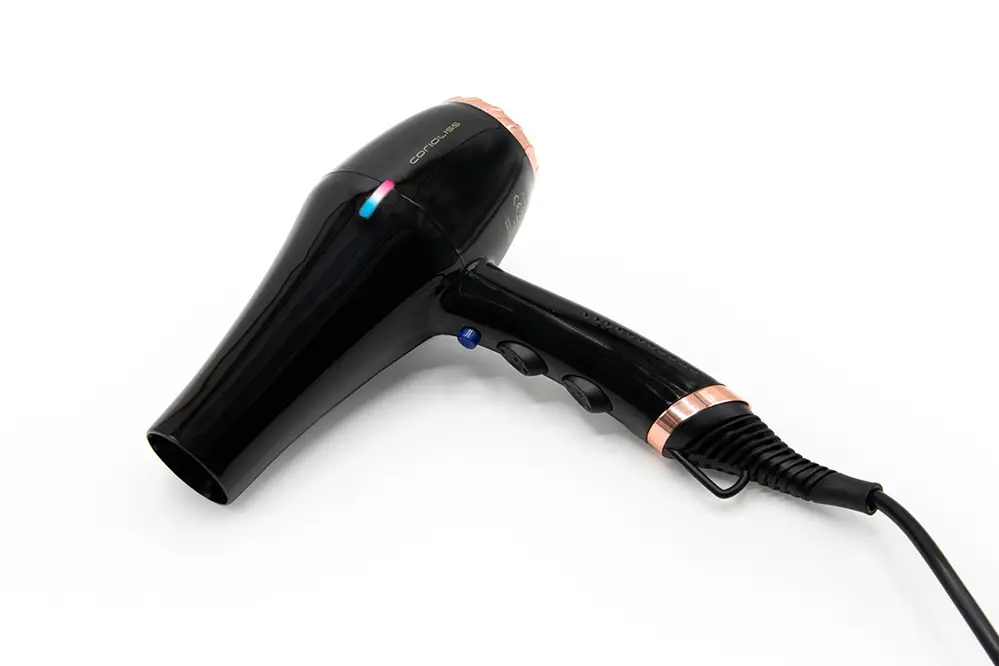
Embrace the versatile power of a hair dryer, a staple in adhesive residue removal. With the correct methodology, it’s your key to pristine surfaces without a hitch.
Opt for moderate heat settings, as excessive heat risks damaging the underlying material. Aim the dryer close enough to warm the adhesive without contact, enhancing its pliability and ease of removal.
Mild heat is a simple yet effective method for loosening stubborn adhesive without leaving a trace.
Once the adhesive has warmed, gently peel or scrape it off, using a soft tool if necessary. This technique, besides being effective, is often faster than other solvent-based methods. A patient application of heat not only revives surfaces but also inspires confidence in tackling future adhesive challenges with finesse.
Apply Heat with an Iron
Using an iron to apply heat strategically can effectively loosen LED strip residue for easier removal.
First and foremost, place a protective cloth or a parchment paper between the iron and the surface. This crucial step ensures that the iron’s heat is evenly distributed, safeguarding the surface from potential damage while effectively softening the adhesive. A well-prepared surface paves the way for a smooth removal process, turning a potentially arduous task into a seamless experience.
Carefully, set the iron to a low steam setting and gently press over the protective layer. In a matter of seconds, the warmth generated will begin to soften the adhesive, making it much easier to peel or wipe away. This direct application of heat offers precision and control, crucial elements in maintaining the integrity of your surfaces.
Moreover, the use of an iron not only adds to your toolkit of effective adhesive removal methods but also sets a reliable standard for achieving spotless results. By mastering this technique, you heighten your ability to tackle similar challenges with ease, knowing that you possess the tools and the confidence to overcome adhesive residue with poise and precision.
Scrape Off Excess Residue
Begin by using a plastic scraper or a credit card edge to gently lift and remove large chunks of adhesive residue. Move steadily, with patience, to ensure minimal surface damage, as this delicate approach is key to preserving the pristine condition of your surface.
This method effectively addresses the stubborn spots that resist conventional cleaning measures, making it an indispensable first step in your residue removal process.
Use a Plastic Scraper
When it comes to removing LED strip residue or managing the clean appearance after installing led strip lights, a plastic scraper can be your best ally.
Recent years, plastic scrapers gained attention following their proven effectiveness. They emerged as an essential tool for homeowners dealing with sticky situations, offering a non-abrasive option that safeguards your surfaces.
To yield the best results, position the scraper at a slight angle and apply gentle yet firm strokes. This maneuver ensures that you’re effectively targeting the residue without inflicting any scratches or dents on the underlying surface, maintaining its aesthetic appeal.
Throughout the scraping process, frequent cleanup of the scraper’s edge will prevent residue build-up, optimizing its performance. Incorporating a lubricant such as soapy water minimizes friction, thus enhancing both ease and efficiency.
A plastic scraper is an invaluable tool, combining simplicity with efficacy to deliver outstanding results.
Avoid Metal Tools
Steer clear of metal tools.
Metal tools can easily damage your delicate surfaces. The risk they pose to your more sensitive surroundings is significant enough to warrant caution, making their use less than ideal for LED strip residue removal. Instead, relying on tools that are gentle yet effective is the recommended course to preserve both your furniture and finishes.
Metal is notorious for leaving scratches.
While it may seem tempting to use a metal tool – with its rigid form that promises greater leverage to pry the residue – the inherent risks outweigh the potential short-term gains.
There is a whole arsenal of alternatives offering exceptional effectiveness when it comes to residue removal. By primarily focusing on plastic scrapers or other non-abrasive instruments, you position yourself not only to conquer the residue challenge of 2023 with grace but also to safeguard the beauty of your surroundings. Metal tools, though sturdy, are best left for tasks that do not involve delicate finishes.
Apply Adhesive Remover
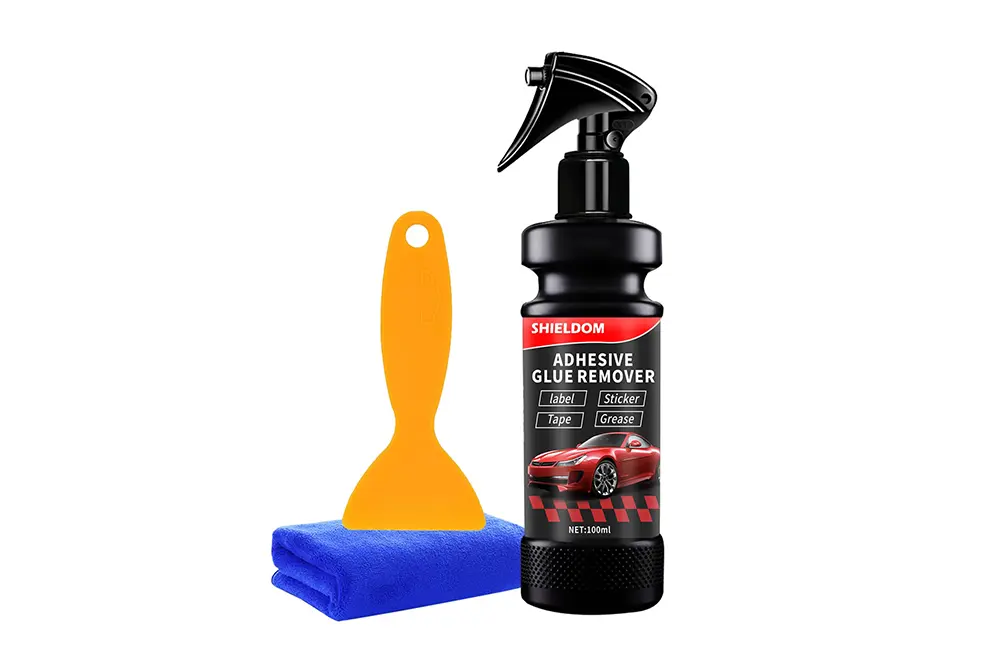
In situations where gentle methods fall short, adhesive removers or rubbing alcohol can be your go-to solution. These products, specifically designed to target sticky residues, provide a professional-grade intervention that’s both effective and safe. By choosing the right adhesive remover, you can confidently restore surfaces without compromise.
It is essential to select an adhesive remover that is compatible with your surface type to avoid further damage. Look for products labeled as safe for plastics or painted surfaces, ensuring your choice aligns with the sensitivity of the area you’re working on. Remember, the extra attention to product details pays off in preserving integrity.
The terms “adhesive-free” and “residue-free” are indicators of successful removal. Following the application instructions carefully will lead to the ‘clean slate’ outcome.
Choose a Suitable Product
Identify the adhesive’s composition beforehand.
When selecting a product to remove LED strip residue, it’s crucial to match its formula with the adhesive type. Most residue can be effectively eliminated using solutions specifically crafted for various surfaces, such as wood, metal, and plastic. Additionally, using products that advertise non-corrosive properties can safeguard your item’s integrity during the process.
Do not skip product testing on small areas.
This will ensure compatibility and prevent unexpected reactions. If the product proves effective—without discoloration or damage to the surface—you can proceed confidently. Comprehensive product descriptions often include these guidelines, underscoring the importance of patience and prudence.
Seek out environmentally friendly options that protect both your space and the planet. An eco-conscious approach not only aligns with current global imperatives but also offers peace of mind, knowing you’re contributing sustainably to a cleaner environment. Such choices reflect a commitment to excellence beyond immediate results.
Perform a Spot Test
A spot test is a simple yet crucial step.
Before diving into the full removal process, take the time to test a small area. This approach allows you to assess the product’s impact on your surface, helping to identify any adverse effects such as discoloration or material weakening. Therefore, patience in this step maximizes success potential by securing the outcome you desire.
Choose a hidden or inconspicuous area.
This can be a less visible corner – not the first place guests or clients look – so that any unlikely mishap remains confidential, preserving appearances and maintaining professional credibility.
Such preliminary examinations validate compatibility while safeguarding against unexpected alterations in surface appearance, preserving the integrity of both the material and your work. Spot testing exemplifies proactive problem-solving and reflects a meticulous approach, one that honors both tradition and innovation.
Clean the Area Thoroughly
Prepare your cleaning tools and solution.
Select the right cleaner for the job. You must identify the type of surface you’re working with, as this determines the optimal cleaning agents to utilize. Generally, opt for solutions specifically designed for gentle yet effective cleaning without damaging the underlying surface. Additionally, ensure that your tools are appropriate for the task to avoid scratches or abrasions.
Gather materials before starting the cleaning process.
You may require items such as microfiber cloths, non-abrasive scrubbers, and perhaps a mild detergent solution suitable for your specific surface type. By preparing these in advance, you maximize efficiency and minimize interruptions during the cleaning session.
Aim to work methodically and with care to protect the surface.
With patience and attention to detail, you are well-positioned for success. Remember that a clean and prepped surface is pivotal in facilitating smooth further applications or restorations. Those who embark on this with dignity and precision reflect a keen sense of responsibility and a forward-thinking mindset, harmonizing aesthetics with practicality.
Prevent Future Residue
To prevent future LED strip residue, consider using strips with high-quality adhesive technology that releases cleanly from surfaces. Additionally, ensure proper surface preparation before installation, such as cleaning, drying, and applying a primer if necessary.
Regular maintenance inspections and adjustments can further safeguard against adhesive failure and residue. This proactive approach enhances both the longevity and aesthetics of your lighting setup.
Use Low-Residue Tapes
When it comes to preserving your surfaces, consider this innovative option to tackle vexing adhesive remnants.
Incorporate low-residue tapes as a preventive measure against sticky leftovers when installing LED strips, ensuring the surface remains clean and pristine. These tapes, designed specially for easy removal without leaving unwanted marks, can be your trusted ally in achieving flawless lighting arrangements.
Remarkably, not only do these tapes offer a stable adherence during use, but they also release effortlessly. By leveraging this tool, you can significantly reduce the chances of cumbersome cleaning sessions or potential surface damages after removing the LED strips.
Ultimately, using low-residue tapes translates into a smart investment in both time and surface care, enabling you to maintain excellence in your living or working environments. This choice exhibits a commitment to quality and thoughtfulness, reducing the aftermath of adhesive troubles and enhancing the overarching aesthetic and functional integrity of your spaces.
Tips for Difficult Surfaces
When dealing with challenging surfaces, patience and the appropriate techniques are your best allies to ensure success without damage.
Firstly, for surfaces notorious for stubborn residue like textured wallpaper or antique wood, employ a mixture of mild adhesive remover and gentle scrubbing. Use a soft cloth or sponge to apply and work the mixture, ensuring you check for compatibility with a small patch before widespread application. This method minimizes risk while effectively lifting off adhesive residues without scratching.
Moreover, sometimes the warmth of a hairdryer is all that’s needed. On heat-sensitive surfaces like certain plastics, gently applying heat can soften the residue, making it easier to gently peel away. This technique ensures you can carefully remove the stubborn adhesive without exerting excessive force.
Finally, consider specialized products designed to tackle particularly tricky residues on various surfaces, such as citrus-based cleaners. These natural-based products can break down the residue, offering a solution that is both eco-friendly and efficient. Combine this approach with protective practices, like using a cutting mat or drop cloth during removal, to ensure that the original surface’s condition remains unmarred, maintaining its beauty and functionality.
Conclusion
Successfully removing LED strip residue can be an empowering experience. Armed with the right tools and techniques, challenges transform into opportunities. Through understanding and patience, even the most stubborn adhesive can be tamed.
Let this be a testament to the value of perseverance. Engage methods ranging from household solutions to specialized products, each offering their unique touch. With practice, you’ll soon find the perfect approach that suits your needs.
Remember, maintaining your surfaces’ integrity is paramount, so prioritize caution and care. Equipped with these strategies, anyone can confidently approach the task, strike a balance between efficacy and preservation, and emerge triumphant.
The satisfaction of restoring a surface to its original splendor is a reward in itself. It’s about the journey of discovery, learning, and the satisfaction derived from each small victory over adhesive residue. Go forth with optimism, the adaptability to innovate, and take solace in the knowledge that a clean, residue-free surface is undeniably within reach.

