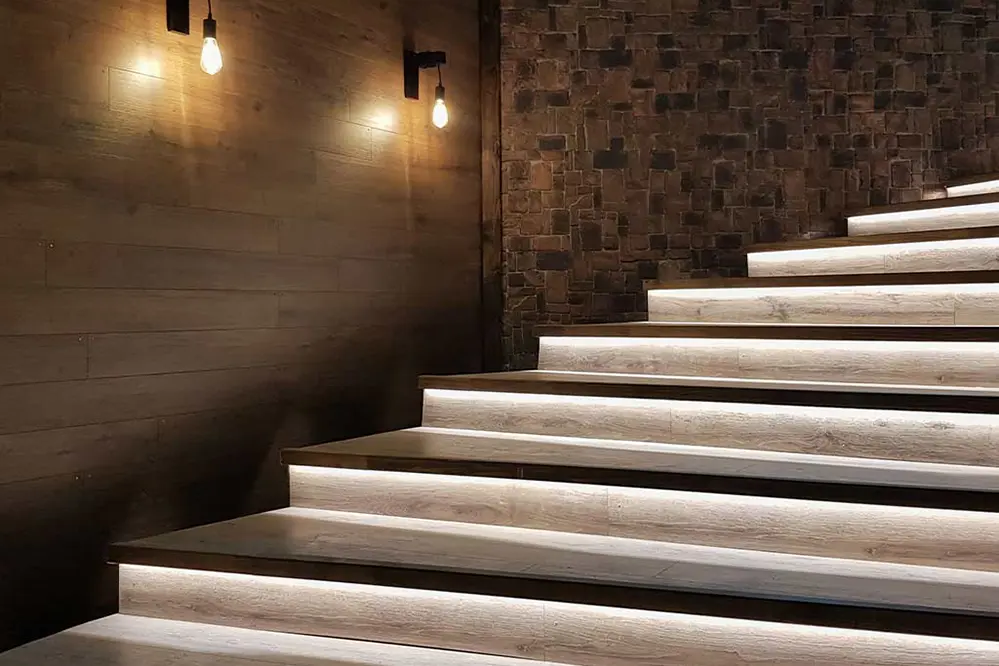
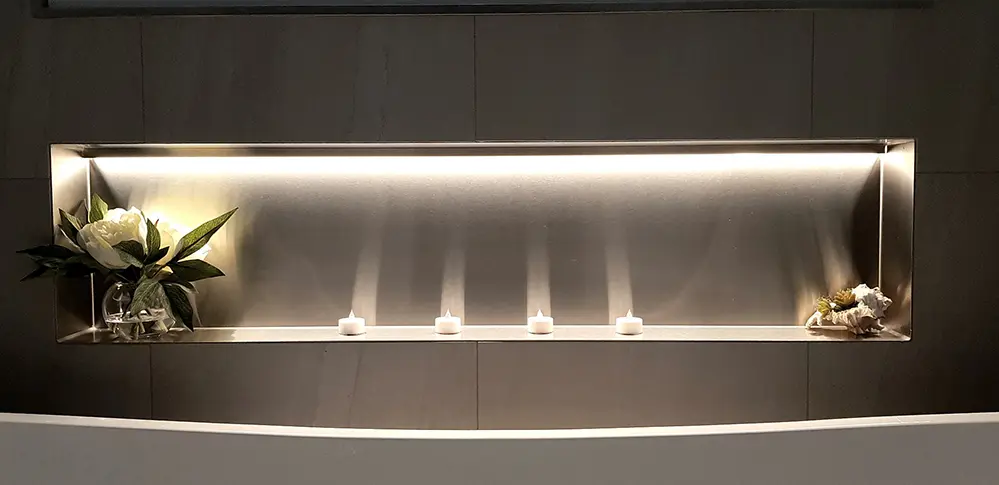
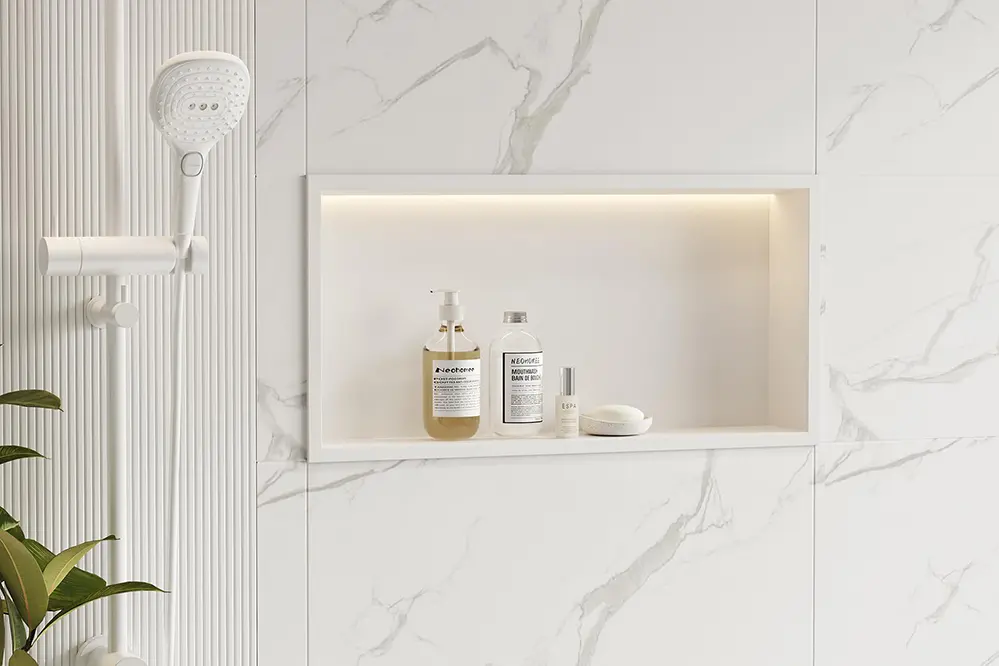
Imagine stepping into a luxurious shower, a space transformed by the warm, ambient glow of LED strip lights nestled perfectly within a niche. Installing these lights is akin to stitching golden threads into the fabric of your bathroom’s design, creating a seamless blend of functionality and elegance.
But how do you achieve this transformation?
This guide will take you through the process, ensuring you have the knowledge and confidence to install LED strip lights in your shower niche with precision and flair.
Gather Your Tools and Materials
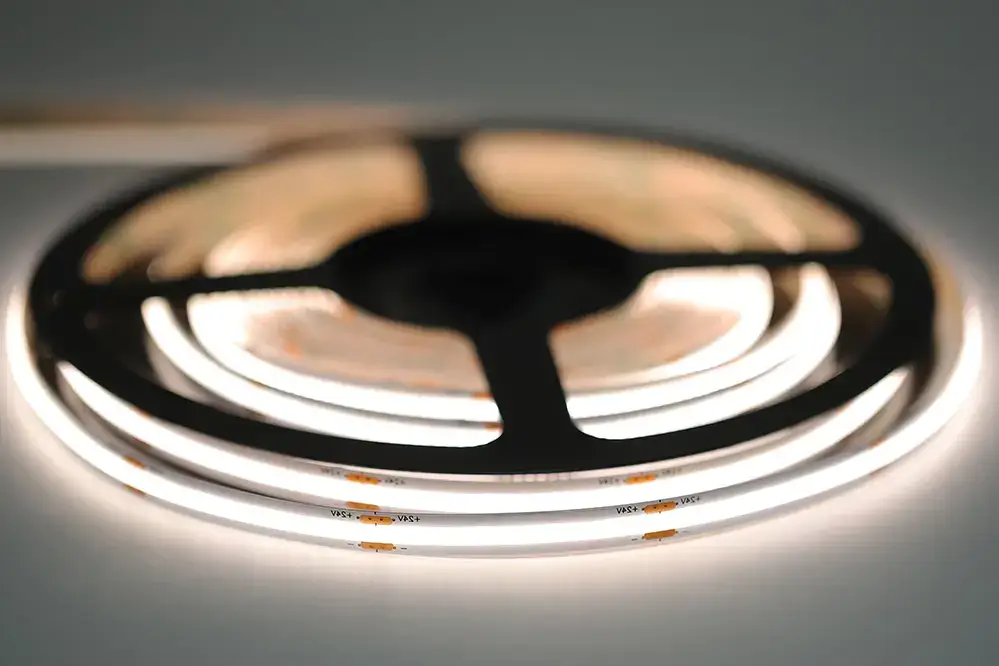
Begin by selecting high-quality LED strip lights, ensuring they are waterproof and suitable for your shower environment.
In addition, you will need various tools to facilitate a seamless installation. Gather a measuring tape, a utility knife, waterproof adhesive, a soldering kit, electrical tape, and a power drill. These essentials will significantly streamline the process and ensure precision in every step.
Furthermore, make sure you have a compatible power supply ready for your LED strips. By consulting a professional, you can verify that your chosen power supply aligns with the specific electrical requirements, ensuring safety and reliability.
Lastly, consider protective gear to maintain a safe working environment. Rubber gloves, safety goggles, and a dust mask are indispensable when working with electrical components and adhesive materials. Armed with these tools and your innate determination, you’re well on your way to illuminating your shower niche with impeccable precision.
Plan Your LED Strip Light Layout
Visualize the ideal design for your shower.
The first stride in your journey is to map out your plan. This entails analyzing the dimensions of your shower niche, paying close attention to areas requiring accent lighting. Subsequently, reflect on the most strategic positioning of the LED strip to maximize both aesthetics and functionality.
Strategize the power source placement.
Consider where the power supply will reside, as this dictates how the wiring can be efficiently managed. It is paramount to ensure that it remains accessible while being protected from water exposure.
Evaluate lighting direction and intensity.
Plan meticulously to guarantee that your selected dimmable LED strip lights will provide ample, diffuse light that bathes your niche in an inviting glow, enhancing the brightness of the space. Opt for a design that seamlessly integrates with your bathroom’s overall theme.
Map out installation stages to avoid mishaps. This diligent preparation can transform an ordinary shower niche into a bespoke feature that imbues your space with modern elegance and practicality. Your envisioned masterpiece awaits, fueled by careful planning and executed with precision.
Measure the Shower Niche
Begin by gathering the necessary tools, including a measuring tape and a notepad for recording measurements and observations.
First, carefully measure the interior dimensions of the shower niche, ensuring to note the height, width, and depth. These measurements are critical for selecting the appropriate length of LED strip lights and ensuring a snug fit within the niche. Accuracy is imperative; even slight miscalculations can affect the overall appearance and effectiveness of the installation.
Next, account for any variations within the niche, such as indentations or irregularities. Document these differences meticulously, as they could impact the application of the adhesive backing on the LED strips. Ensure that the measurements take into consideration any finishes, such as tile grout lines, which might slightly alter the usable space.
Finally, assess the proximity of the niche to the power source and any obstacles that could interfere with the wiring. By thoroughly planning and measuring, you ensure a seamless, efficient installation process. This preparatory step is pivotal for achieving a flawless, professional-looking result that not only meets but exceeds your aesthetic and functional expectations.
Clean the Installation Surface
Before embarking on the installation, it’s paramount to ensure the surface is immaculate, free from dirt, grime, and any potential residue that could compromise the adhesive’s strength.
Typical household cleaning agents can suffice. Alternatively, a combination of water and mild detergent will do.
Ensuring the surface is thoroughly dry after cleaning is essential. Residual moisture can severely impact the adhesive properties of the LED strips. Patience here prevents long-term issues.
If grout lines in your niche have accumulated mold, meticulously clean these areas with a mixture of vinegar and baking soda. Allow the mixture to sit for a few minutes before scrubbing gently. This step guarantees a pristine environment, reinforcing a strong and lasting bond for your LED strip installation.
Cut the LED Strip to Size
Measure your shower niche dimensions, dedicating special attention to ensuring accuracy. This precision will dictate the final appearance, so take your time. Carefully mark the cut points on the LED strip, which are usually indicated by small scissor icons or printed lines, ensuring alignment with these markers.
Using a pair of sharp scissors or a craft knife, cut the strip along the designated lines. It’s imperative to adhere strictly to these guides to maintain the integrity of the LED circuit. Properly cutting the strip ensures uninterrupted functionality and prepares your LED lighting for a seamless installation.
How to Cut LED Strips Safely
Cutting LED strips requires precision and attention to detail to avoid damaging the circuit. Ensure that the power is disconnected before you begin the cutting process.
Identify the designated cut marks, often indicated by “scissor” icons. These marks show you where it is safe to cut without affecting the strip’s functionality.
LED strips are designed to deliver both aesthetics and efficiency while being incredibly user-friendly.
After identifying the cut lines, use a sharp pair of scissors to make a clean cut. Maintaining a steady hand and cutting precisely is crucial for ensuring that your LED strip works flawlessly in your shower niche. This careful preparation will lead to a smooth and successful installation.
Attach the Power Supply
Once your LED strip lights are cut and placed, your next task is attaching the power supply, a crucial component of your lighting setup. Ensuring a secure and reliable connection for consistent illumination is paramount.
First, identify the power supply connection points.
Next, connect the wires from your LED strip to the power supply, observing proper polarity (+ and -) indicators.
Ensure the wiring connection is secure by using electrical tape or wire connectors.
After everything is connected, plug the power supply into a nearby GFCI-protected outlet for safety.
If necessary, consider adding a switch or dimmer control for added convenience, enabling you to customize the lighting ambiance to your liking.
Finally, test your setup to confirm that everything’s working perfectly. Enjoy the transformation brought by your new shower niche lighting.
Connect the LED Strip to the Power Supply
Connection of the LED strip to the power supply is crucial.
A seamless electrical hook-up ensures the longevity and performance of your LED strip lights. Start by stripping the ends of the wires on your LED strip about a quarter-inch, carefully exposing the conductive material. With precision, make sure the connections align with the designated terminals, ensuring a snug fit for optimal conductivity.
Double-check the polarity connections.
Matching the positive and negative terminals is essential to prevent potential damage. Once aligned, fasten the wires securely using either soldering techniques or reliable wire nuts. Employing these safeguards will prevent inadvertent disconnections and ensure steady power flow.
Next, meticulously insulate the connected wires with electrical tape.
This protective measure guarantees safety by averting electrification hazards. Secure the LED power supply adapter to a nearby GFCI-protected outlet. Ensuring the outlet’s protection enhances safety, mitigating risks associated with moisture and electric currents.
Finally, power up your installation and revel in the brilliance that your shower niche now exudes. With this meticulous connection, you’re not only shedding light on your space but also setting a standard for safety and aesthetics. Your illuminated shower niche is a perfect blend of functionality, elegance, and inspiration, marking a successful culmination of your project.
Place the LED Strip in the Shower Niche
After securing the power source, it’s time to position the LED strip within the designated shower niche area.
This process involves carefully applying the adhesive backing of the LED strip to the interior of the niche, ensuring it adheres firmly. Precision is crucial to maintain a straight line, accentuating the niche’s contours.
Use the “no-peel” and “no-stick” sections for adjustments to achieve the desired aesthetic look.
Using Adhesive Tape for Securing
Adhesive tape is an effective method to ensure your LED strip lights remain securely affixed inside your shower niche.
- Clean the surface to remove any moisture, dust, or residue to guarantee optimal adhesion.
- Measure and cut the adhesive tape to match the length of the LED strip lights.
- Apply the tape evenly along the back of the LED strip, pressing firmly to create a strong bond.
- Position the lights in the niche, adjusting as necessary to align the strip perfectly.
- Seal the edges to prevent water infiltration, enhancing both durability and safety.
Affixing the tape properly ensures that your LED strip lights stay in place despite the humid conditions.
The result is a professionally illuminated shower niche that promises durability and aesthetic appeal for years to come.
Waterproofing the Installation
Waterproofing is paramount when installing LED strip lights in a shower niche. This ensures longevity and safety by safeguarding the lights from constant exposure to moisture.
To do so effectively, make sure to select waterproof LED strip lights (IP65-rated or higher) to prevent any water ingress. Additionally, seal any connections with waterproof silicone caulking to further enhance the resistance to water and moisture.
By prioritizing “waterproofing” and “durability,” you’ll add an extra layer of protection to your splendid installation.
Sealing the LEDs
Sealing the LED strip lights is paramount to ensure durability, safety, and longevity in a shower niche. Utilizing high-grade, waterproof materials is crucial for this procedure.
First and foremost, choose a high-quality IP65-rated LED strip that’s specifically designed for wet environments.
Secondly, ensure the LED strip is positioned correctly in the niche, as adjustments after sealing will be difficult.
Utilize waterproof silicone caulking generously at the edges and around any connections. This barrier will prevent any water intrusion.
Allow the silicone caulking to cure for at least 24 hours. This will solidify the seal and ensure that no moisture penetrates the enclosure.
Finally, remember that the effectiveness of your sealing directly impacts the lifespan of the LEDs. Prioritize precision and thoroughness in this critical step to enjoy a brilliant and safe shower niche illumination.
Test the LEDs Before Finalizing
Testing the LED strip lights is an essential step, ensuring they function perfectly and meet your expectations before finalizing the installation.
Begin by connecting the LED strip to a temporary power source and turning them on, paying attention to each segment. This preliminary test highlights any irregularities, such as dim sections or color inconsistencies, allowing you to address issues before the final setup. It’s worth noting that catching these discrepancies now prevents extensive modifications later.
Also, check the placement of the LEDs within the niche, making adjustments if necessary. Our goal is to confirm that the illumination is even and aesthetically pleasing, showcasing the full potential of your shower niche lighting project.
By diligently performing these checks before enacting permanent measures like sealing and fixing the strip in place, you ensure a flawless final result. This thoughtful approach maximizes the lifespan and performance of your LED strip lights, providing satisfaction and confidence in your stunning and functional installation.
Troubleshooting Common Issues
Despite careful planning and installation, some issues may arise when installing LED strip lights in your shower niche.
One common problem is segments of the LED strip not lighting up or flickering. This can often be traced back to loose connections or faulty segments. To fix this, double-check all connections, ensuring the strip is securely attached to the power source and control unit. Additionally, testing the strip with an alternative power source can help identify if the issue lies with the strip or the power supply.
Additionally, users sometimes encounter problems with water ingress affecting the performance of the LED strip. If moisture penetrates the strip’s protective coating, it can cause malfunction or damage. Ensuring that the LED strip is adequately sealed, particularly in a damp environment like a shower niche, will safeguard against such issues. Utilizing waterproof sealant or an extra protective covering can be beneficial.
For those experiencing issues with color consistency, mismatched hues between segments can detract from the visual appeal. Often, this is due to voltage drops along the length of the strip. Ensuring that the power supply is sufficient and installing a high-quality, consistent voltage driver can mitigate this problem. Regularly inspecting connections and replacing worn-out components also maintains peak performance and brilliance.
Finishing Touches
With your LED strip lights successfully installed and operational, there are several finishing touches that can elevate the overall impact. Attention to detail here ensures a polished and professional-looking final presentation.
One crucial step involves securing the LED strip firmly.
Adhesive tapes may lose their grip over time.
Consider using a silicone-based adhesive or mounting clips.
These options offer longer-lasting stability, especially in humid conditions.
Another important aspect is diffusing the light to create a soft, even glow. Installing a milky or frosted cover over the strips not only diffuses the light but also adds a sleek, finished look to your shower niche.
Finally, inspect your work to ensure all cables are neatly concealed. This not only enhances the aesthetic appeal but also maintains the water-resistant integrity of the installation.
Safety Precautions to Consider
Before beginning your installation, ensure the power to the bathroom is turned off. This reduces the risk of electrical shock.
Per NEC standards, use a certified GFCI (Ground-Fault Circuit Interrupter) to prevent electrical hazards. This is crucial when electrical components are near water.
Additionally, selecting LED strips that are specifically designed for wet environments is vital. These waterproof options ensure safe operation even in damp settings.
Position transformer and power supplies in a well-ventilated, dry area outside the shower to prevent moisture exposure. Secure all connections with waterproof connectors.
Always double-check for any exposed wiring. Maintaining a safe environment assures your stunning LED installation won’t compromise safety.
Maintenance Tips for LED Strip Lights in Shower Niche
Ensuring the longevity of your LED strip lights in the shower niche is crucial. Regular maintenance, inspection, and proper handling can significantly enhance their lifespan.
Firstly, periodically check for any signs of wear or damage. This will help catch potential issues early.
Importantly, wipe down the lights weekly to prevent soap scum and mineral deposits. A gentle, damp cloth is ideal.
In addition, maintain optimal humidity levels in the shower area. Proper ventilation can help with this.
Lastly, invest in high-quality, waterproof connectors and power supplies to prevent moisture-related issues. Regular inspections ensure these components remain effective.
By following these simple maintenance tips, you’ll maximize the life of your LED strip lights. It ensures they continue to add elegance and ambiance to your shower niche.
Conclusion
Achieving a stunning result is gratifying.
By diligently following the step-by-step guide on how to install LED strip lights in your shower niche, you are investing in both aesthetics and functionality. The combination of modern design and practical illumination can dramatically transform your bathroom space, creating a spa-like atmosphere that you can enjoy daily.
Your efforts will pay off.
Remember, meticulous planning and high-quality materials are key. Each step, from waterproofing to installation, contributes to the long-term success and safety of your project.
Feel empowered by your accomplishment. Not only have you enhanced the beauty of your bathroom, but you’ve also mastered an advanced home improvement skill. As you bask in the softly lit elegance of your shower niche, let it be a testament to your vision and capability.

