
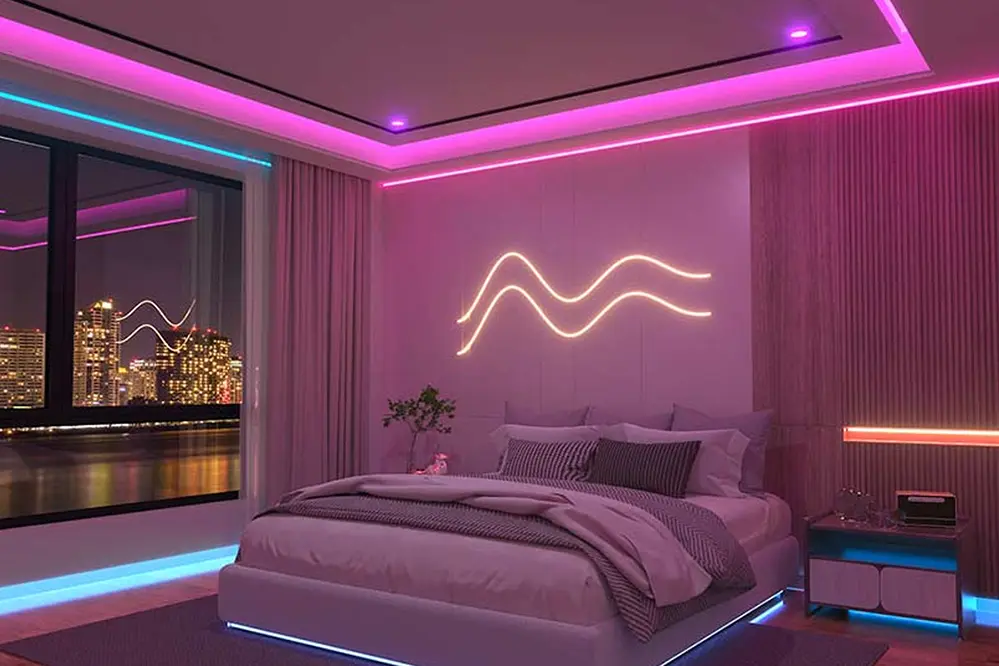
Transforming your bedroom into a cozy, ambient haven is easier than you might think. One of the most effective ways to achieve this is by installing LED strips. These versatile lights can add a touch of elegance, create a relaxing atmosphere, and even make your room appear larger.
In this comprehensive guide, we’ll walk you through the entire process of installing LED strips in your bedroom, from gathering materials to optimizing your lighting for the perfect ambiance.
Gather Your Materials
Before diving into the installation process, it’s crucial to gather all the necessary materials. Having everything on hand will make the process smoother and more enjoyable.
Essential Tools and Supplies
To get started, you’ll need the following tools and supplies:
- LED Strip Lights: Choose high-quality LED strips that suit your needs. Look for features like dimmability, color options, and waterproofing if necessary.
- Power Supply: Ensure you have a compatible power supply for your LED strips. The power supply should match the voltage and wattage requirements of your strips.
- Connectors: Depending on your layout, you may need connectors to join multiple strips or make turns.
- Adhesive Tape: Most LED strips come with adhesive backing, but having extra double-sided tape can be helpful for securing the strips.
- Scissors: For cutting the LED strips to the desired length.
- Cleaning Supplies: A damp cloth or alcohol wipes to clean the surfaces where you’ll attach the strips.
Choosing the Right LED Strips
Selecting the right LED strips is essential for achieving the desired effect in your bedroom. Consider the following factors:
- Brightness: Measured in lumens, the brightness of the LED strips should match the purpose of the lighting. For ambient lighting, lower lumens are sufficient, while task lighting requires higher lumens.
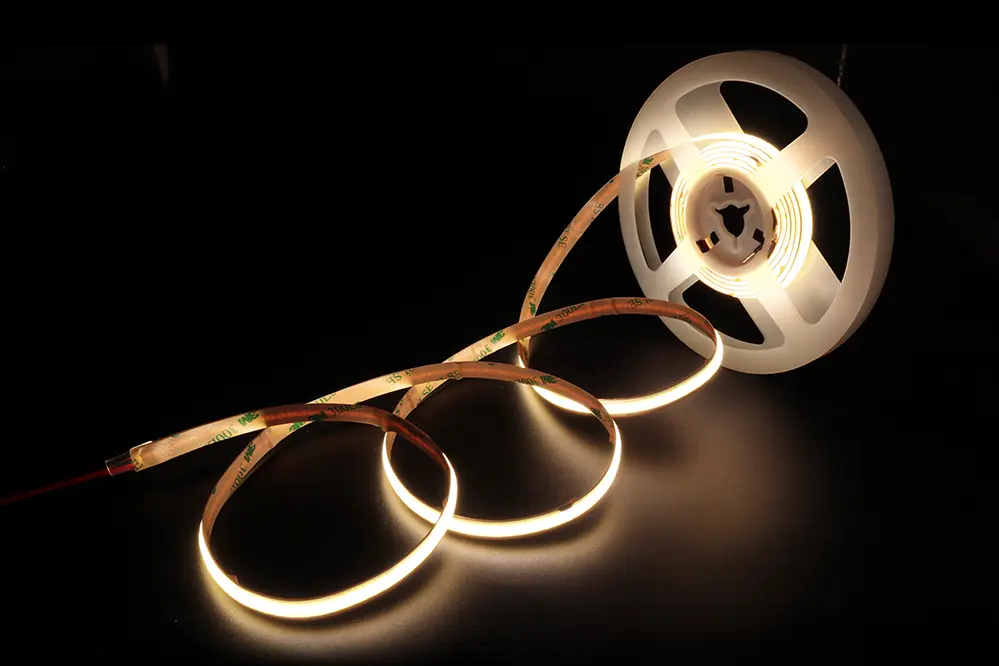
- Color Temperature: LED strips come in various color temperatures, from warm white to cool white. Warm white (2700K-3000K) creates a cozy atmosphere, while cool white (5000K-6500K) is ideal for task lighting.
- Color Options: If you want to add a splash of color, opt for RGB or RGBW LED strips that offer a range of colors and effects.
- Waterproofing: If you plan to install LED strips in areas prone to moisture, such as near windows, choose waterproof strips.
Please refer to our separate article on Bedroom Light Color Temperature: Warm vs Cool.
Plan Your Bedroom Layout
A well-thought-out layout is key to a successful LED strip installation. Planning your layout ensures you have enough strip length and helps you visualize the final look.
Visualizing Your Design
Start by visualizing where you want to place the LED strips. Consider the areas that will benefit most from the added lighting. Sketch a rough layout to help you plan the installation. Think about the following:
- Focal Points: Highlight specific areas or features in your bedroom, such as artwork, shelves, or architectural details.
- Functionality: Determine the primary purpose of the lighting. Is it for ambiance, task lighting, or accent lighting?
Popular Placement Ideas
Here are some popular placement ideas to inspire your design:
Under the Bed

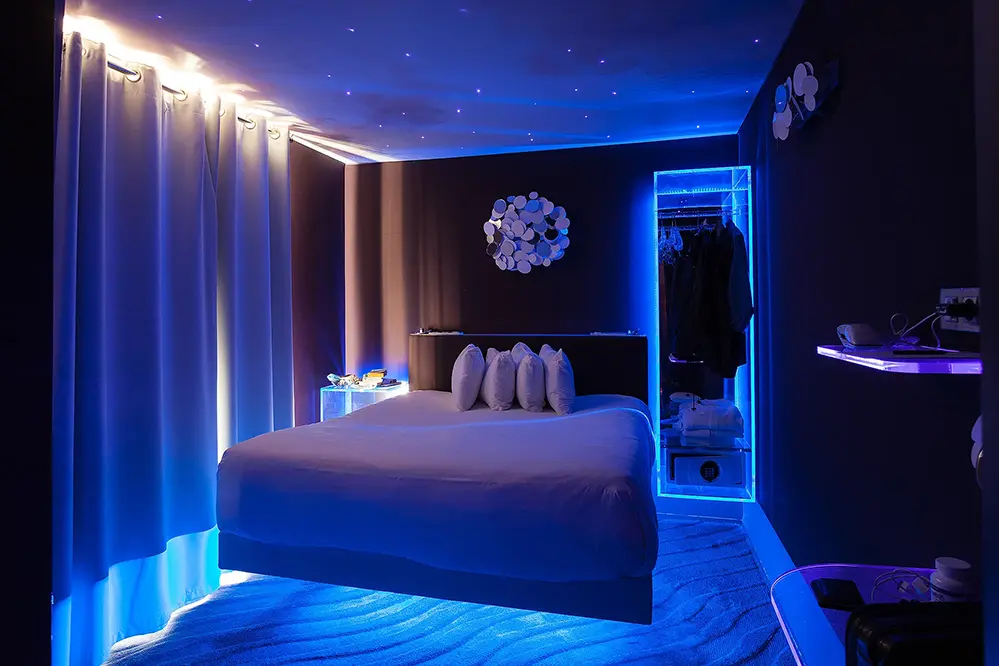
Installing LED strips under the bed creates a floating effect and adds a soft, ambient glow. This placement is perfect for creating a relaxing atmosphere and can also serve as a nightlight.
Along the Ceiling

Placing LED strips along the ceiling can make your room appear larger and more spacious. This technique is especially effective in rooms with low ceilings.
Behind the Headboard

Adding LED strips behind the headboard creates a stunning focal point and adds a touch of elegance to your bedroom decor. This placement is ideal for creating a cozy reading nook.
Around Windows and Mirrors
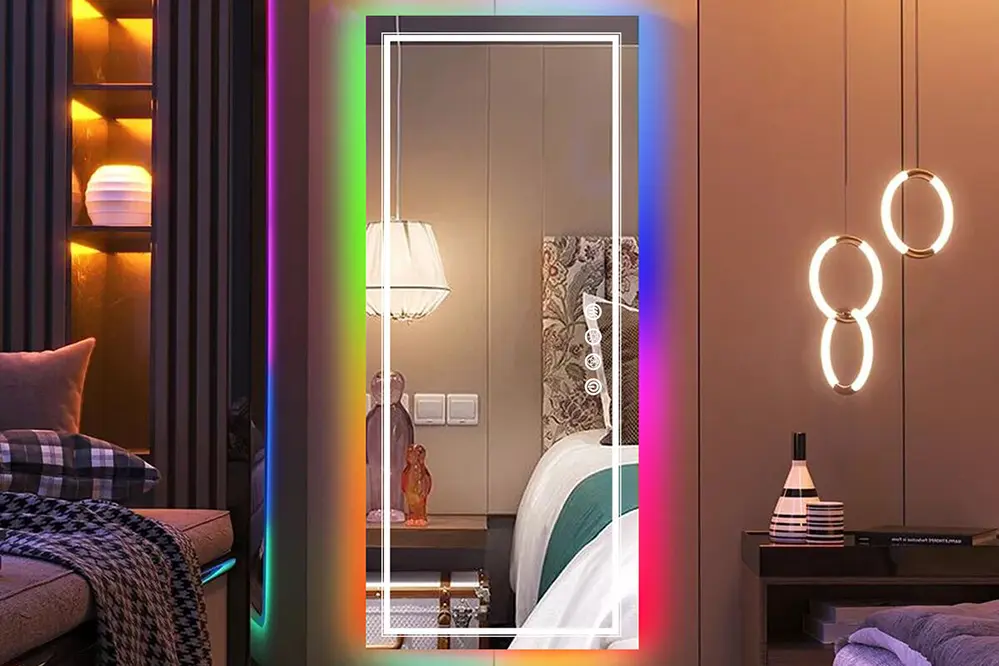
Highlighting windows and mirrors with LED strips can enhance the architectural features of your room and create a sense of depth. This light placement also adds a touch of sophistication.
Measure and Cut the LED Strips
Accurate measuring and cutting are crucial for a seamless installation. Follow these steps to ensure your LED strips fit perfectly.
Accurate Measuring Techniques
Measure the areas where you plan to install the LED strips. Use a tape measure to get precise measurements. It’s essential to measure twice to avoid any mistakes. Note down the measurements for each section.
Safe Cutting Practices
LED strips can be cut to fit your desired length, but it’s important to cut only at the designated points marked on the strips. These points are usually indicated by a line or scissors icon. Use sharp scissors to make clean cuts. Cutting outside these points can damage the LEDs and render the strip unusable.
Prepare the Surfaces
Proper surface preparation is essential for ensuring the adhesive backing on the LED strips sticks securely.
Cleaning and Prepping the Installation Area
Clean the surfaces where you plan to attach the LED strips. Use a damp cloth or alcohol wipes to remove any dust, dirt, or grease. Allow the surfaces to dry completely before proceeding. This step is crucial for achieving a strong bond.
Ensuring Adhesive Effectiveness
If the adhesive backing on the LED strips isn’t strong enough, consider using additional double-sided tape or mounting clips. This extra step ensures the strips stay in place over time.
Attach the LED Strips
With your surfaces prepped and strips cut to size, it’s time to attach the LED strips.
Step-by-Step Installation Process
- Peel and Stick: Peel off the backing from the adhesive tape on the LED strips. Carefully stick the strips to the prepared surfaces, pressing firmly to ensure a secure bond.
- Use Connectors: If your layout requires connectors, attach them according to the manufacturer’s instructions. Ensure the connections are secure to avoid any loose connections.
- Mounting Clips: For added stability, use mounting clips to secure the strips in place. This step is especially important for areas with curves or corners.
Tips for a Secure Attachment
- Avoid Overstretching: Do not stretch the LED strips during installation, as this can damage the circuitry.
- Check Alignment: Ensure the strips are aligned correctly and follow your planned layout. Adjust as needed before pressing down firmly.
Connect to Power Source
Connecting the LED strips to a power source is a critical step. Follow these guidelines to ensure a safe and effective connection.
Understanding Power Requirements
LED strips require a compatible power supply that matches their voltage and wattage requirements. Check the specifications of your LED strips and power supply to ensure they are compatible. Using an incorrect power supply can damage the strips and pose a safety hazard.
Safely Connecting to the Power Supply
- Connect the Strips: Attach the LED strips to the power supply using the provided connectors. Ensure the connections are secure and match the polarity (+ and -).
- Plug In: Plug the power supply into an electrical outlet. If your setup includes a remote control or dimmer switch, connect it according to the manufacturer’s instructions.
- Test the Connection: Turn on the power supply and check that all sections of the LED strips are lit and functioning correctly. If any sections are not working, check the connections and ensure they are secure.
Test and Adjust
Once the LED strips are connected and powered, it’s time to test and make any necessary adjustments.
Ensuring Proper Functionality
Turn on the LED strips and inspect each section to ensure they are functioning correctly. Check for any flickering or dim sections, which may indicate a loose connection or faulty strip.
Fine-Tuning the Lighting Effects
Adjust the placement and angle of the LED strips to achieve the desired lighting effect. Use the remote control or dimmer switch to fine-tune the brightness and color settings. Experiment with different settings to create the perfect ambiance for your bedroom.
Optimize Your Bedroom Lighting
Now that your LED strips are installed and functioning, it’s time to optimize your bedroom lighting for the best results.
Creating Ambiance with Strategic Placement
Strategic placement of LED strips can transform the atmosphere of your bedroom. Consider the following tips:
- Layered Lighting: Combine LED strips with other light sources, such as bedside lamps and ceiling lights, to create a layered lighting effect. This approach adds depth and dimension to your room.
- Accent Lighting: Use LED strips to highlight specific features, such as artwork, shelves, or architectural details. This technique draws attention to focal points and adds visual interest.
- Mood Lighting: Adjust the color and brightness of the LED strips to match your mood. Warm colors create a cozy and relaxing atmosphere, while cool colors are energizing and refreshing.
Enhancing Room Features with LED Lighting

LED strips can enhance the architectural features of your bedroom and create a sense of depth. Consider these ideas:
- Cove Lighting: Install LED strips in coves or recessed areas to create a soft, indirect glow. This technique adds a touch of elegance and sophistication.
- Backlighting: Use LED strips to backlight mirrors, headboards, or shelves. This placement creates a stunning visual effect and adds a modern touch to your room.
- Under Cabinet Lighting: If your bedroom includes built-in cabinets or shelves, install LED strips underneath to illuminate the space and make it more functional.
Frequently Asked Questions (FAQs)
What Are the Benefits of Using LED Strips in the Bedroom?
LED strips offer numerous benefits, including energy efficiency, versatility, and ease of installation. They provide a cost-effective way to enhance the ambiance of your bedroom and can be customized to suit your preferences.
How Long Do LED Strips Last?
High-quality LED strips can last up to 50,000 hours or more, depending on usage and maintenance. This longevity makes them a durable and reliable lighting option for your bedroom.
Can I Install LED Strips Myself, or Do I Need a Professional?
Installing LED strips is a relatively simple DIY project that most people can handle with basic tools and supplies. However, if you’re unsure about electrical connections or need assistance with complex layouts, it’s best to consult a professional.
Are LED Strips Safe to Use in the Bedroom?
Yes, LED strips are safe to use in the bedroom. They produce minimal heat and are designed to be energy-efficient. Ensure you follow the manufacturer’s instructions and use a compatible power supply for added safety.
How Do I Maintain and Clean LED Strips?
To maintain LED strips, regularly check for loose connections and ensure the adhesive backing remains secure. Clean the strips with a soft, dry cloth to remove dust and debris. Avoid using harsh chemicals or water, as this can damage the LEDs.
Conclusion
By following this comprehensive guide, you’ll be able to install LED strips in your bedroom with confidence and ease. The result will be a beautifully lit space that enhances the ambiance and functionality of your room. Enjoy the transformation and the cozy, inviting atmosphere created by your new LED lighting. Whether you’re looking to create a relaxing retreat or a vibrant, modern space, LED strips offer endless possibilities for customization and creativity.
LED strips not only provide a cost-effective and energy-efficient lighting solution but also add a touch of sophistication and modernity to any bedroom. Their versatility allows you to experiment with different placements and lighting effects, making it easy to tailor the ambiance to your personal preferences. As you embark on this DIY project, remember that the key to a successful installation lies in careful planning and attention to detail. With the right tools and a bit of creativity, you can transform your bedroom into a stunning sanctuary that reflects your unique style and enhances your overall well-being. So, take the plunge and illuminate your space with the magic of LED strips—your bedroom will never look the same again.
For those seeking high-quality LED strip lights and LED neon strips, consider reaching out to Unitop, a professional Chinese manufacturer renowned for their exceptional products. Unitop offers a wide range of LED lighting solutions that cater to various needs and preferences, ensuring you find the perfect fit for your bedroom transformation. With their expertise and commitment to quality, you can trust Unitop to provide reliable and innovative lighting options that will elevate your space. Contact Unitop today to explore their extensive selection and take the first step towards creating a beautifully lit and inviting bedroom.


