
“How do you install LED strips without damaging walls?” This question is more common than you might think. Many homeowners and renters face the challenge of adding modern lighting without compromising their wall integrity. The fear of peeling paint or unsightly marks often deters people from enhancing their spaces with LED strips.
One of the biggest misconceptions is that all adhesives will damage walls. Many believe that the only way to secure LED strips is through permanent methods, which isn’t true. There are numerous non-damaging adhesive options and mounting techniques available that ensure both stability and wall preservation.
The benefits of installing LED strip lights correctly are manifold. Not only do they provide a sleek and modern look, but they also offer energy efficiency and customizable lighting options. Proper installation techniques can transform any room, creating a warm and inviting atmosphere without the worry of wall damage.
In this article, we will cover essential tips for planning and surface preparation, explore various non-damaging adhesive options, and discuss the use of mounts or tracks for added stability. Each section is designed to provide practical, easy-to-follow advice for a successful installation.
Ready to transform your space with stunning LED lighting? Continue reading to discover how to achieve professional results without compromising your walls.
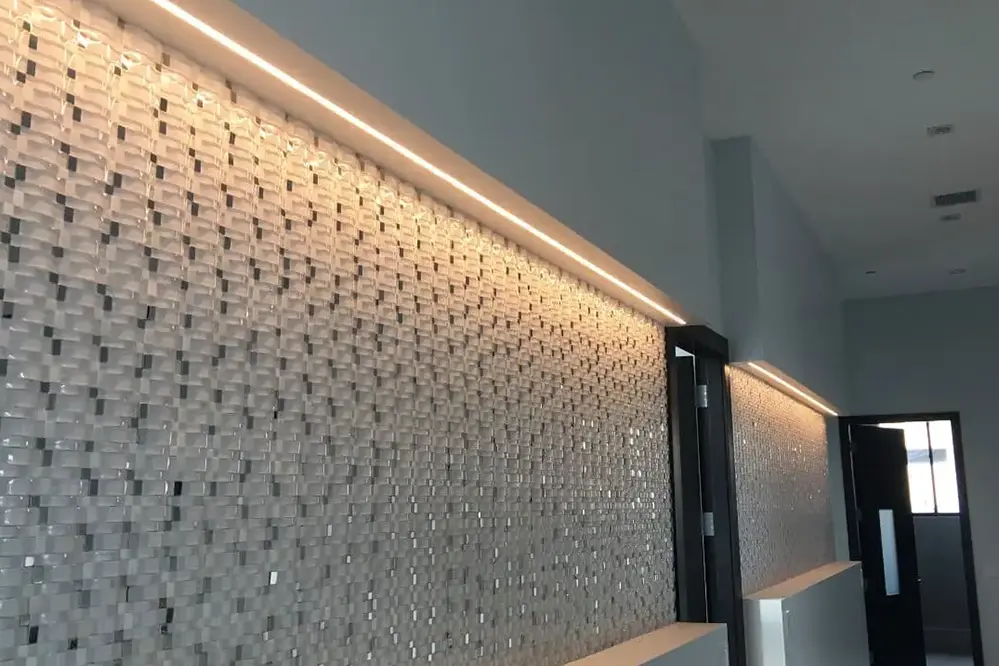
Plan Your Installation
To start, determine where the led strip lights should go, ensuring your installation maximizes both aesthetics and function.
The next step in your planning process is to perform a thorough assessment of the chosen surface. Examine the wall or area for any imperfections, dust, or debris, ensuring the strips will adhere properly. This meticulous preparation guarantees a strong bond and avoids any potential damage or unsightly installations.
Additionally, think about the proximity to a power source. By strategically positioning your LED strips near outlets, you minimize visible cords and maintain the sleek appearance of your space. This step also involves measuring the total length required, so you don’t fall short or waste resources.
Lastly, consider alternative installation methods such as using adhesive tape or mounting clips designed for led strip lights. These innovative solutions provide secure attachment while allowing easy removal without leaving a trace. By carefully planning each detail, one can ensure a flawless installation process, maintaining both the visual appeal and structural integrity of their walls.
Determine Power Source Location
Identifying an accessible and strategic location for the power source is crucial. This will ensure your LED strips can be powered efficiently without any unsightly cords dangling about.
Think about convenient electrical outlets when choosing the power source location. The closer the outlet, the better.
In addition, it’s important to consider the layout of furniture and other appliances. Placing the source near hidden or less trafficked areas can help maintain a clean and professional look.
A well-thought-out power source location not only enhances the aesthetic but also facilitates ease of use. By strategically planning this aspect, anyone can achieve a harmonious balance between functionality and design, ensuring their LED strips are both beautifully integrated and highly effective.
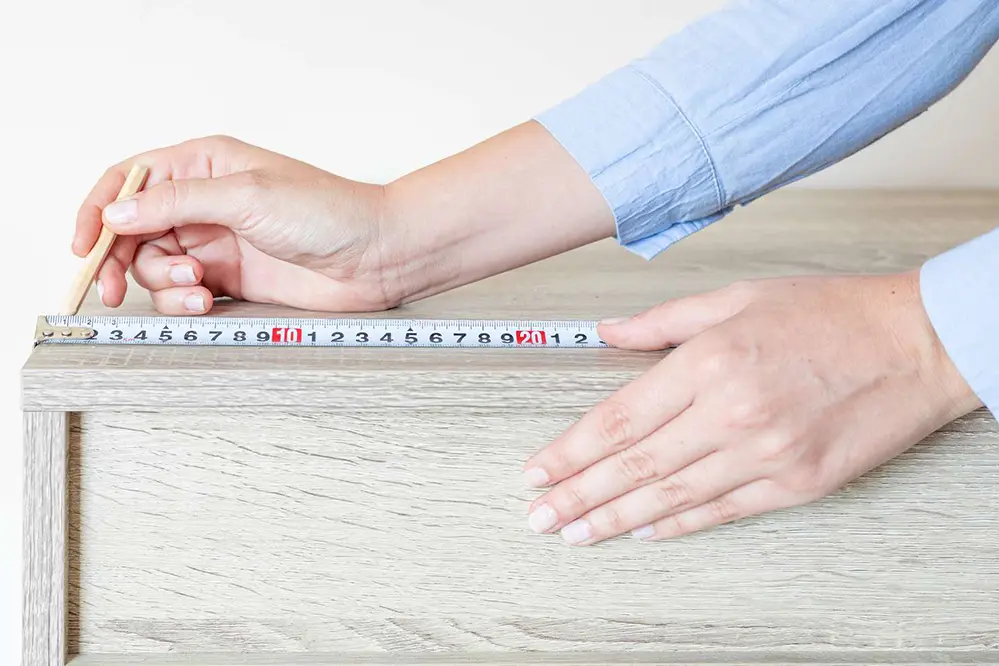
Measure the Area for LED Strips
Accurate measurements are essential before proceeding with the installation of LED strips. This ensures a seamless and professional appearance, avoiding the pitfalls of draping or uneven lighting.
Use a measuring tape to determine the precise length of the area intended for the LED strips.
Carefully measure along edges and corners, taking into account potential bends (rounded measurements can be beneficial) and obstructions.
Consider the placement of furniture and decor pieces, ensuring the LED strips will enhance the overall ambiance without interference.
This meticulous planning stage allows for better coverage and distribution of light, aligning with the envisioned aesthetic outcome.
Finally, double-check all measurements to avoid discrepancies later. Taking the time to measure correctly solidifies the foundation for a successful and damage-free installation process.
Clean the Surface
Before applying LED strips, it is paramount to thoroughly clean the surface where the strips will be attached, as this ensures optimal adhesion and longevity of the installation.
Using a mild cleaner and a soft cloth is ideal.
Remove any dust, grease, or debris that might impede the adhesive properties of the LED strip backing. A clean, debris-free surface contributes to a firmer attachment, preventing the strips from peeling off or sagging over time.
Once the surface is clean, allow it to dry completely before attempting to affix the LED strips. This step is crucial as any residual moisture can adversely affect the adhesive’s effectiveness, undermining the professional appearance and durability of your installation. Taking these preparatory measures guarantees that the LED strips remain securely in place, thereby protecting both your investment and your walls.
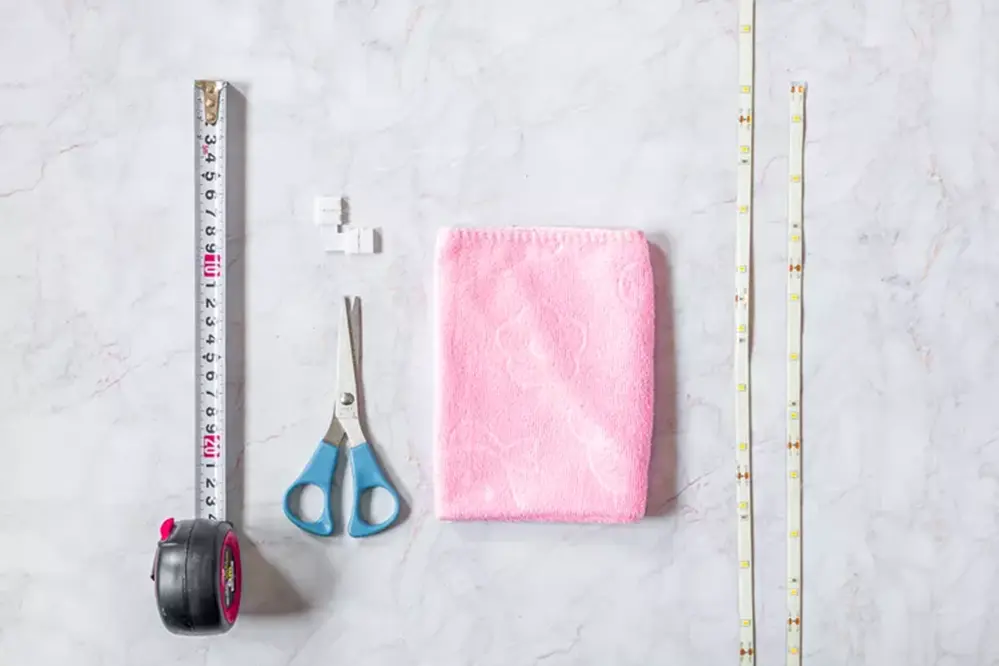
Prepare the Wall or Surface
Firstly, gather the necessary tools, including a measuring tape, pencil, and painter’s tape to mark reference points and boundaries.
Next, assess the surface condition to ensure it’s a suitable medium for adhesion. Painted, smooth walls typically provide an excellent base for LED strips, whereas rough or textured surfaces may require additional treatment. Identify any imperfections or cracks that need attention, ensuring the wall is primed for installation.
Additionally, consider patching up any significant blemishes with filler or spackle. If significant repairs are required, allocate enough drying time for those touch-ups. This step is essential for a seamless application and protects the longevity of the LED strips.
Finally, use painter’s tape to mark the precise locations for the LED strips, maintaining straight lines and even spacing. These guidelines will help to ensure an accurate placement of the LED strips without readjustments, minimizing potential damage. Thoughtful preparation empowers the installer to achieve a professional, lasting result.
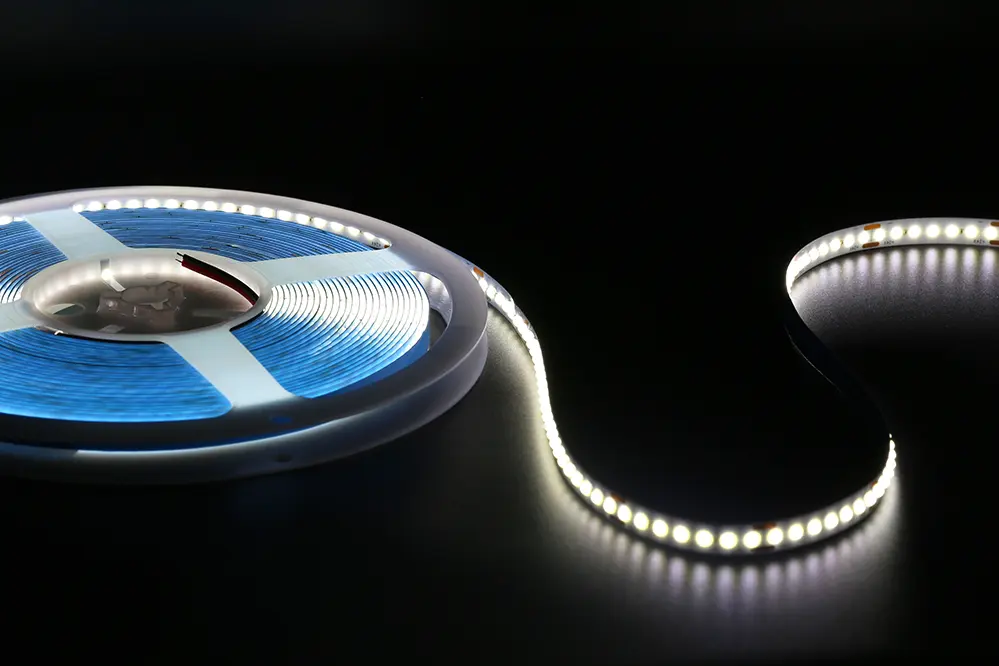
Cut the LED Strips to Size
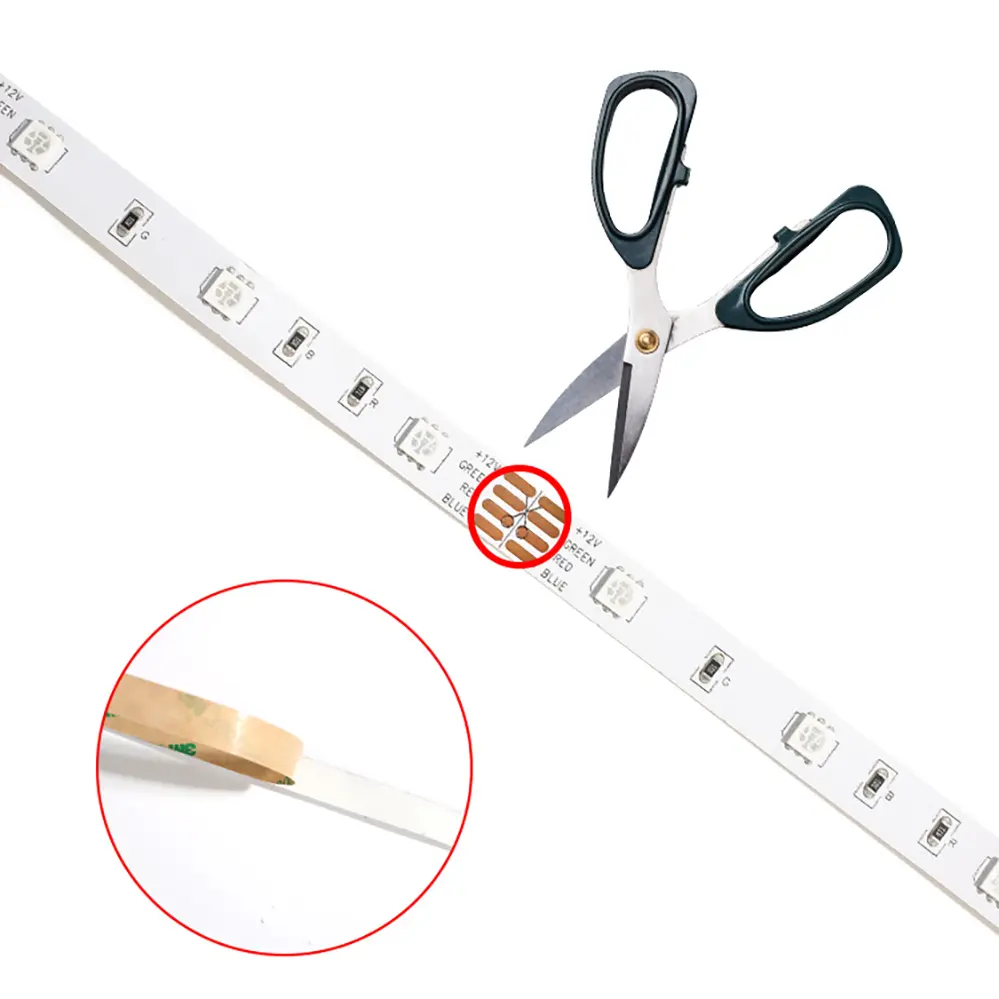
Once the surface is prepared, measure the length needed for your LED strips.
Using a measuring tape, identify the exact length required for each section, ensuring precise measurements to fit your planned layout. It is crucial to locate the predetermined cut points on the LED strip, typically indicated by small scissor icons, which preserve the circuit’s integrity when trimmed.
Carefully, with a pair of sharp scissors at hand, cut along the marked lines. By respecting these demarcations, you avoid damaging the electrical pathways, allowing the LED strips to function correctly and consistently.
By making precise and accurate cuts, you not only ensure a perfect fit but also uphold the aesthetic appeal of your project. This meticulous attention to detail will result in an installation that is both visually pleasing and technically sound, supporting the longevity and reliability of your LED strip lights display.
Use Adhesive Clips or Mounting Tape
Adhesive clips or mounting tape represent a versatile and practical solution for affixing LED strips without harming walls.
Firstly, one must select high-quality adhesive products designed to secure LED strips firmly.
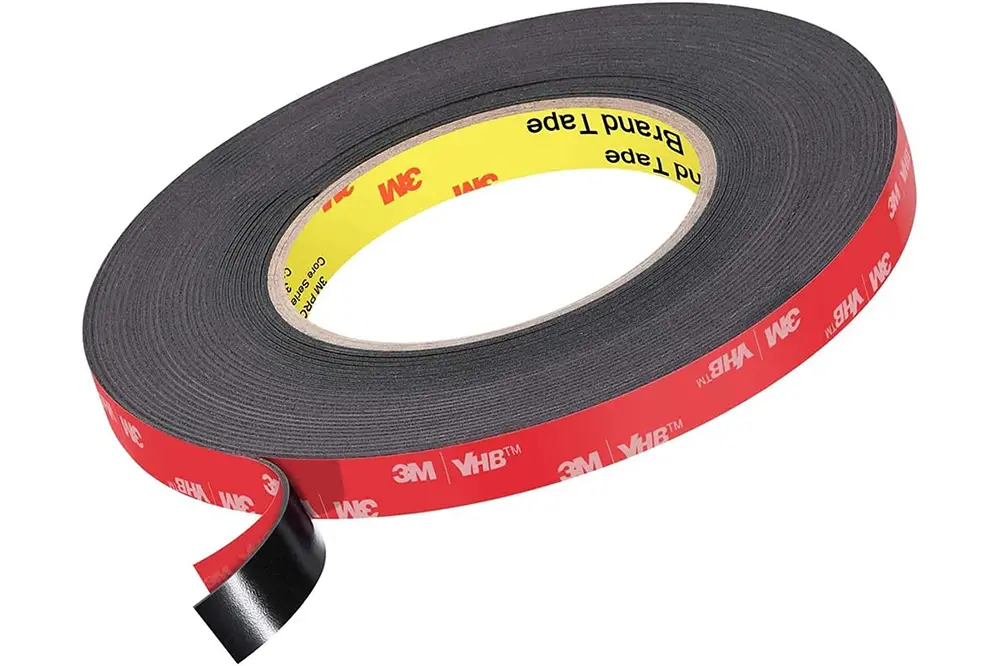
These types of installation accessories, including double-sided tape, facilitate a clean and organized look, providing a stable base for LED strips without the hassle of drilling holes or using permanent fixtures.
Moreover, these adhesive solutions can be easily removed or repositioned with minimal residue left behind. This allows for future redecorating or relocating projects to be managed with ease, preserving the integrity, and beauty of the walls. Thus, investing in such non-invasive methods is paramount for a seamless integration of LED lighting in any space.
Install the LED Strips
Now, with the preparations complete and armed with high-quality adhesive products, it’s time to proceed confidently with the installation. Begin by peeling off the backing of the adhesive strips, revealing the sticky surface.
Carefully press the LED strip onto the prepared wall, ensuring it adheres firmly. Working systematically from one end to the other, one must apply consistent pressure to ensure a strong bond. By doing so, they can ensure the LED strip holds securely in place, illuminating their space with elegance and efficiency.
Attaching to Adhesive Clips
Using adhesive clips offers a non-invasive solution—preserving wall integrity while securing LED strips reliably.
Adhesive clips provide flexibility and strength, making them an excellent choice for various applications in both residential and commercial spaces.
One must start by cleaning the wall surface to ensure proper adhesion. Ensuring the surface is dry and free from dust or grease will guarantee optimal performance of the adhesive.
Next, they should press the adhesive clip firmly against the wall, holding it in place for a few seconds. This step ensures a robust bond that will support the LED strip’s weight, imparting both functionality and aesthetic brilliance to the space.
Securing with Mounting Tape
Mounting tape provides a straightforward method for installing led strip lights without damaging walls. It combines strength with ease of use.
- Choose the Right Tape: Ensure the tape is designed for LED strips and suitable for the wall surface.
- Prepare the Surface: Clean the wall thoroughly, removing dust and debris for optimal adhesion.
- Measure and Cut: Use a tape measure to cut the mounting tape to match the LED strip length.
- Apply the Tape: Firmly press the tape onto the back of the LED strip.
- Secure to Wall: Adhere the strip to the wall, pressing evenly along the length.
This method minimizes wall damage while offering a secure bond.
Ensure the surface remains dry and dust-free for optimal results.
A flawless installation offers both functional lighting and aesthetic enhancement.
Connecting to the Power Supply
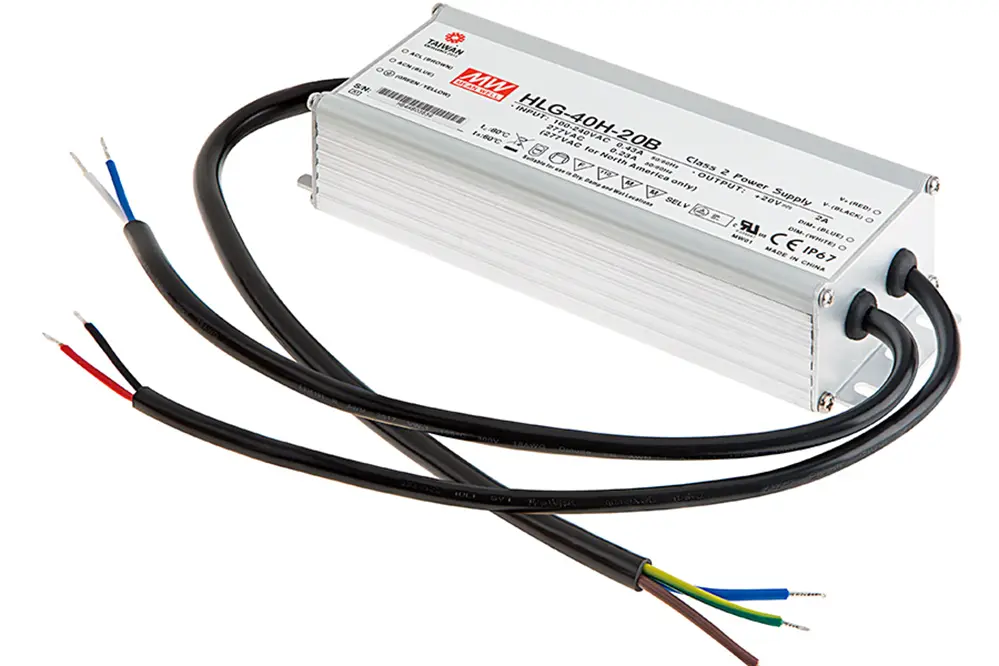
After securing the led strip lights to the wall, the next step involves connecting them to the power supply.
This task is both essential and straightforward.
First, locate the end of the LED strip that features the power connector.
Next, ensure the power supply unit (PSU) is appropriately rated for the LED strips.
Position the PSU in a location that allows easy access for future maintenance. Ensure it is close enough to the LED strip to connect without strain.
Firmly attach the power connector from the LED strip to the corresponding output on the PSU, ensuring a secure and tight fit.
Lastly, plug the PSU into an electrical outlet. Turn on the switch and verify that the LED strips are illuminated.
Following these steps ensures a seamless connection and optimizes the longevity of the installation.
Test Your Installation
Prior to completing your project, it is imperative to test your LED strip installation to ensure everything works smoothly.
Power on the LED strips and observe their illumination. Do they distribute light evenly along the entire length?
Moreover, check for any flickering or inconsistencies which could indicate a poor connection or a malfunctioning power supply unit. Address these issues promptly for optimal performance.
Take a moment to switch through different lighting modes and colors, if available. A seamless transition between modes signifies a successful and robust installation.
This thorough testing process provides peace of mind, ensuring the installation not only meets but exceeds expectations.
Use Reusable Mounting Solutions
One highly effective approach to avoid wall damage is to use reusable mounting solutions. These include removable adhesive strips, hooks, and clips, all designed to hold LED strips securely without causing permanent damage.
Removable adhesive strips are an excellent choice. They provide a strong hold but can be easily removed.
When the time comes to take down or reconfigure the lights, adhesive strips peel off cleanly. This prevents any unsightly residue or wall damage.
Reusable hooks and clips are another great alternative for securing led strip lights. These can be positioned along the strip to support weight and ensure even light distribution.
Select sturdy reusable hooks to accommodate heavier LED strips, ensuring they stay in place. Like adhesive strips, these hooks leave no lasting marks on the walls.
Lastly, using magnetic mounting solutions is an advanced method for those who wish to frequently change their setup. Magnets install quickly and provide a secure, non-damaging option that offers flexibility and freedom.
Prevent Adhesive Weakening
To maintain the effectiveness of adhesive strips, one must ensure that they are applied under optimal conditions. Humidity, dirt, and greasy surfaces can significantly weaken adhesive strength.
Before installation, it is crucial to clean the surface thoroughly. Eliminating dust and grime will foster stronger adhesion.
Next, ensure that the wall surface is completely dry. Moisture can repel adhesive elements, leading to premature detachment.
Consider installing LED strips in moderate temperature conditions. Extreme heat or cold can compromise the adhesive’s integrity.
It is also advisable to press the strips firmly onto the surface during installation. This will help the adhesive bond more effectively with the wall surface.
Ultimately, these steps will significantly enhance the longevity of the adhesive, ensuring that LED strip lights remain securely mounted without damaging the walls.
Ensure Proper Ventilation
Proper ventilation is imperative when installing LED strips, ensuring safety and longevity.
Adequate airflow prevents overheating.
Overheating can lead to damage or even fire hazards. Consequently, it’s crucial.
Firstly, avoid placing LED strips in confined spaces without any air circulation.
Ensure that there is some gap between the LED strips and walls or furniture. This allows heat to dissipate.
Moreover, consider integrated cooling elements such as heat sinks or cooling fans if the installation area is particularly enclosed.
Finally, always adhere to manufacturer guidelines regarding ventilation. This will not only prevent damage but also optimize the performance and lifespan of the LED strips.
Regular Maintenance and Checks
LED strips require regular maintenance to ensure optimal performance and longevity.
Recent years, advancements in LED technology, particularly with adhesive strips, have made ongoing maintenance simpler and more effective.
LEDs, by their very nature, aren’t prone to sudden failure, making an annual check sufficient to prevent issues and address wear and tear.
Conducting visual inspections at regular intervals allows for early detection of any loosening or peeling, minimizing damage.
A methodical approach will truly maintain the aesthetic excellence of the LED strips.
Benefits of Proper Installation
Proper installation techniques ensure longevity, enhancing the overall aesthetic appeal.
By following recommended procedures, individuals can achieve a seamless visual integration that enhances the ambiance without compromising structural integrity. Adhering to best practices creates a professional finish and avoids common pitfalls associated with improper installation.
Furthermore, this approach minimizes the risk of damage to walls. In cases where adhesive strips are involved, proper alignment and preparation reduce the likelihood of peeling paint or damaged surfaces.
Ultimately, a meticulous installation process fosters an environment where the LED strips perform at their best, providing consistent lighting and adding value to the space. Homeowners and professionals alike benefit from a well-executed installation, ensuring both practical functionality and aesthetic beauty.
Conclusion
Installing LED strips without damaging walls involves careful planning, proper surface preparation, and using non-damaging adhesives. Incorporating mounts or tracks can further stabilize the strips. Investing in high-quality materials ensures both beauty and functionality, allowing for a confident and successful installation.
For expert assistance and high-quality products, contact Unitop, a leading Chinese manufacturer of LED strip lights and LED neon strips. With extensive experience and a commitment to quality, Unitop offers reliable solutions that ensure both aesthetic appeal and durability. Choosing Unitop guarantees stunning lighting results without compromising wall integrity, making it a smart investment for any lighting project.


