
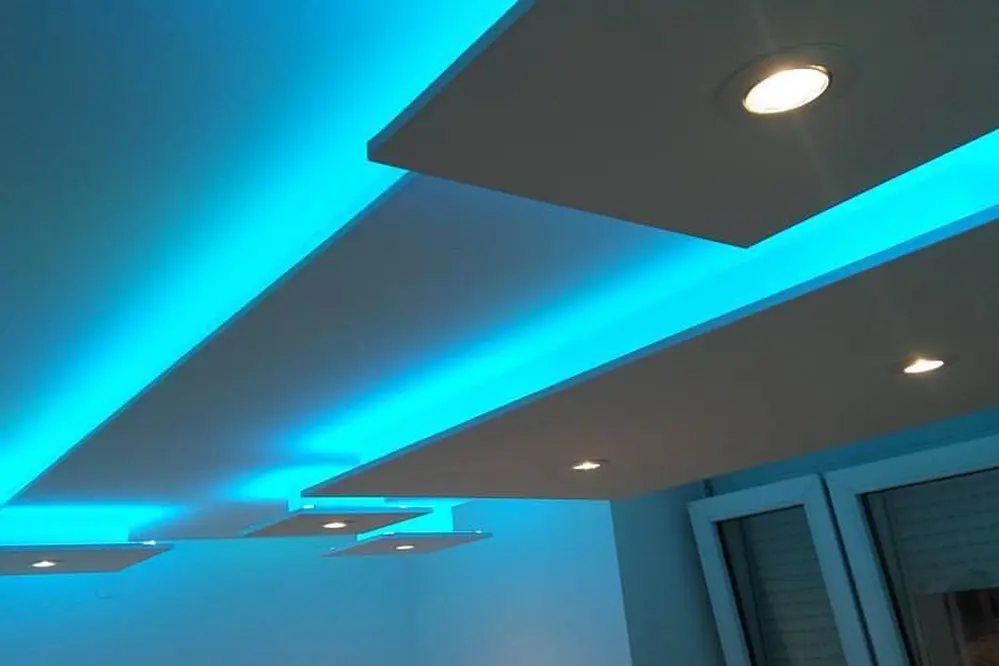
Imagine walking into a room where the ceiling glows with a soft, ambient light, instantly setting the mood for relaxation or celebration. Learning how to install LED strip lights on the ceiling can make this vision a reality, transforming any space into a personalized haven of light and color.
This guide will explore the relevance of LED strip lights in modern interior design, highlighting their energy efficiency, versatility, and aesthetic appeal. From planning and measuring to installation and customization, we will cover all the essential steps to help you achieve a professional finish. Dive in to discover how this simple DIY project can elevate your living space and reflect your unique style.
Tools and Materials Needed

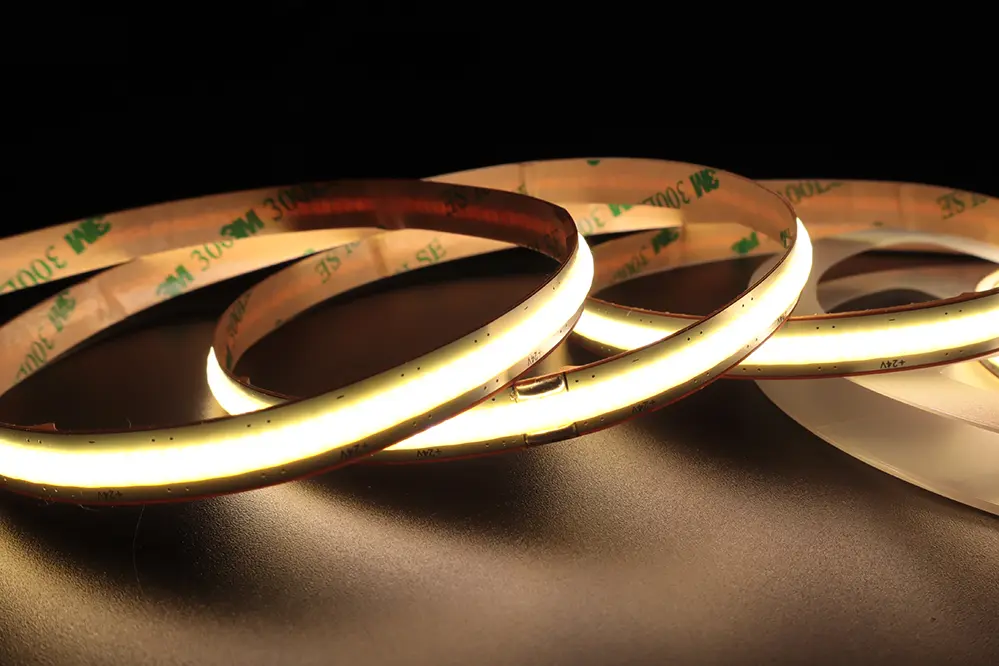
To embark on the journey of installing LED strip lights on the ceiling, one must gather the essential tools and materials. First, select superior quality LED strip lights, which are readily available in various lighting stores and online marketplaces.
A tape measure will be indispensable, ensuring precise measurements and placement of the lights. Additionally, protective gloves are crucial to safeguard hands during the installation process.
Double-sided adhesive tape, often included with LED strips, will aid in securing the lights firmly to the ceiling, making ceiling mounting a straightforward and reliable option. Alternatively, one might consider purchasing clips for added reinforcement and reliability.
A pair of sharp scissors will be necessary for cutting the LED strip lights to the desired length without causing damage to the circuitry or the wiring. A power supply adapter, compatible with the selected LED strips, will convert the standard outlet power to a usable form for the lights.
Finally, clear safety goggles are advisable to protect the eyes, especially when handling any electrical components. By equipping themselves with these tools and materials, one sets the stage for a transformative and elegant lighting upgrade.
Choosing the Right LED Strip Lights
Selecting the appropriate LED strip lights is crucial.
When choosing LED strip lights for the ceiling, one should first consider the brightness. This aspect is measured in lumens and will determine the overall illumination level. Additionally, attention to the color temperature of the lights, ranging from warm to cool hues, will help create the desired ambiance. Furthermore, inspecting the IP rating for protection against dust and moisture ensures durability.
Evaluate the power requirements of the strip lights.
Ensure the chosen lights are compatible with a dimmer if mood lighting is a goal. Look for features such as remote control compatibility, smartphone integration, or various control options – these options provide convenient and advanced control over the lighting system.
With a thorough understanding of these aspects, selecting the right LED strip lights becomes an informed and exciting process. They can be confident their choice will result in a stunning and energy-efficient upgrade to their living space.
Measuring Your Space
Accurate measurements will ensure a seamless installation and optimal lighting effect across the ceiling.
To achieve precision, they should utilize a high-quality measuring tape to record the lengths and dimensions of the ceiling, while paying attention to extrusions, corners, and other architectural nuances that may impact the LED strip placement.
Using phrases like “pre-installation” and “layout planning” will emphasize the significance of the preparatory phase.
Calculating the Length of LED Strip
Before purchasing LED strips, understanding the exact length needed is essential for a seamless installation. Homeowners should measure the entire perimeter of their ceiling, including any corners or alcoves.
This comprehensive measurement will guide them in selecting the correct strip length and avoid unnecessary gaps or overlaps. It ensures that the lighting effect remains uniform and continuous throughout the space.
Inadequate planning can lead to incomplete or overextended lighting, affecting the overall aesthetic.
Once the measurements are complete, it’s prudent to add an extra 5-10% to the total length calculated. This buffer helps to accommodate any unforeseen adjustments or miscalculations, securing a perfect fit for their lighting ambitions.
Deciding on the Power Supply
Selecting the appropriate power supply is critical for the optimal performance of LED strip lights.
- Calculate Power Demand: Assess the total wattage of the LED strips, ensuring the power supply can handle the entire load.
- Choose Voltage Compatibility: Verify that the power supply’s voltage matches the LED strips—typically 12V or 24V.
- Consider Power Supply Type: Opt for either a plug-in adaptor or a hardwired solution, based on installation preferences.
- Plan for Overhead: Select a power supply with a capacity 20-30% greater than the total wattage for reliability.
By carefully analyzing these factors, one can confidently choose a suitable power supply.
Ultimately, the right power supply ensures safety, functionality, and longevity of the LED installation.
Preparing the Ceiling Surface
To achieve a seamless installation process, thorough preparation of the ceiling surface is paramount, ensuring a clean, smooth, and unobstructed area for the LED strip lights to adhere.
First and foremost, it is essential to clean the surface.
Gently wipe the area with a damp cloth, removing dust, cobwebs, and other debris.
This step guarantees maximum adhesion and prevents any interruptions later.
If the ceiling has any cracks or imperfections, consider using a lightweight filler to smooth these out.
Utilize sandpaper to gently sand down any rough spots, ensuring the surface is completely even and clean.
Finally, once the ceiling is prepped, allow adequate time for it to dry. A well-prepared surface sets the stage for a successful LED strip light installation.
Steps to Install LED Strip Lights on the Ceiling
Begin by meticulously measuring the ceiling area to determine the required length of LED strip lights.
Next, prepare the LEDs by cutting them to the desired length, ensuring each segment aligns with the pre-marked cut points. It is crucial to carefully attach the connectors to each cut end, as this guarantees seamless continuity.
Finally, adhere the LED lights by peeling off the sticky backing, pressing firmly onto the prepped ceiling surface.
Marking the Installation Points
Before beginning the LED strip installation, precise marking of the installation points is essential for achieving a professional finish.
- Measure the ceiling to ascertain the desired placement and ensure uniform light distribution.
- Use a pencil to mark the start and end points where the LED strips will be installed.
- Consider obstacles like vents, ceiling fans, and fixtures, making adjustments to avoid them.
- Evaluate angles and corners to ensure smooth transitions and even lighting coverage.
- Double-check measurements to avoid misalignment and ensure an optimal layout.
Proper marking ensures that the LED strips will be applied symmetrically and efficiently.
This preparatory step significantly minimizes the chances of errors.
Accurate markings lead to a polished and aesthetically pleasing installation.
Attaching the LED Strips
To achieve a seamless look, it is essential to attach the LED strips with precision and care.
- Peel off the adhesive backing from the LED strips, exposing the sticky surface.
- Firmly press the sticky side onto the prepped ceiling at the marked installation points.
- Work slowly and steadily to avoid bubbles or misalignments.
- Use additional adhesive for reinforcement if necessary, ensuring the strips remain secure.
- Trim excess to fit the layout, ensuring a clean and even finish.
Each step is vital to ensure the LED strips adhere correctly to the ceiling surface.
Attention to detail during this process will result in optimal lighting and a professional appearance.
A thorough approach to attachment guarantees a durable and visually stunning ceiling display.
Connecting to the Power Source
Once the LED strips are securely attached, connecting the lighting to the power source is crucial.
First and foremost, be sure the power source is compatible with the LED strip lights. Carefully follow the manufacturer’s instructions, ensuring proper voltage and wattage alignment to prevent any electrical mishaps. This precision will not only protect the LED strips but also enhance their longevity.
Next, locate a nearby power outlet or consider the use of an extension cord, if necessary. Connect the power supply to the LED strip, ensuring the connectors are firmly in place to avoid disconnections, which may hinder the lighting performance.
Lastly, if possible, conceal the power cords to maintain the aesthetic appeal of the installation. This can be achieved using cord covers, channels, or simply tucking them behind furniture or molding. A neat and concealed power connection adds to the professional finish of your LED ceiling installation, boosting both functionality and visual appeal.
Testing the LED Strip Lights
Once connected, it’s time for testing.
Proper testing ensures that every inch of the strip illuminates correctly. This initial check allows one to spot any potential discrepancies or segments that might require adjustment. Consequently, they can act on any misalignments or issues before proceeding to the final steps of their installation.
Turn on the power to the lights.
Observe the LED strips for uniform brightness. If they notice any flickering lights or dim sections, double-check the connections or examine the strips for damage. Correcting these discrepancies early ensures the installation is flawless.
Moreover, evaluating the lighting in various room conditions, such as daylight and nighttime, will help them understand the full impact of their installation. This step is vital for achieving the desired ambiance and confirming the reliability of the LED strip lights.
Troubleshooting Common Issues
Encountering problems is not uncommon.
Individuals might notice their LED strip lights flicker. This often results from loose or faulty connections, which can easily be remedied by ensuring all components are securely fastened. Alternatively, there could be issues with the power supply, so they should confirm it meets the requirements for their specific LED strips.
Low brightness can be frustrating.
To resolve this, they should verify that the power source delivers the appropriate voltage. Sometimes, using a different power adapter can also make a significant difference in correcting this issue.
If sections of the strip aren’t lighting up, chances are the strip could be damaged or improperly connected. Verifying all connections and replacing any faulty segments ensures optimal performance. With dedication and attention to detail, any challenge can become a stepping stone toward success.
Tips for Enhanced Aesthetics
Strategically positioning the LED strip lights ensures maximum visual impact across the room.
They should prioritize areas that will accentuate the room’s features.
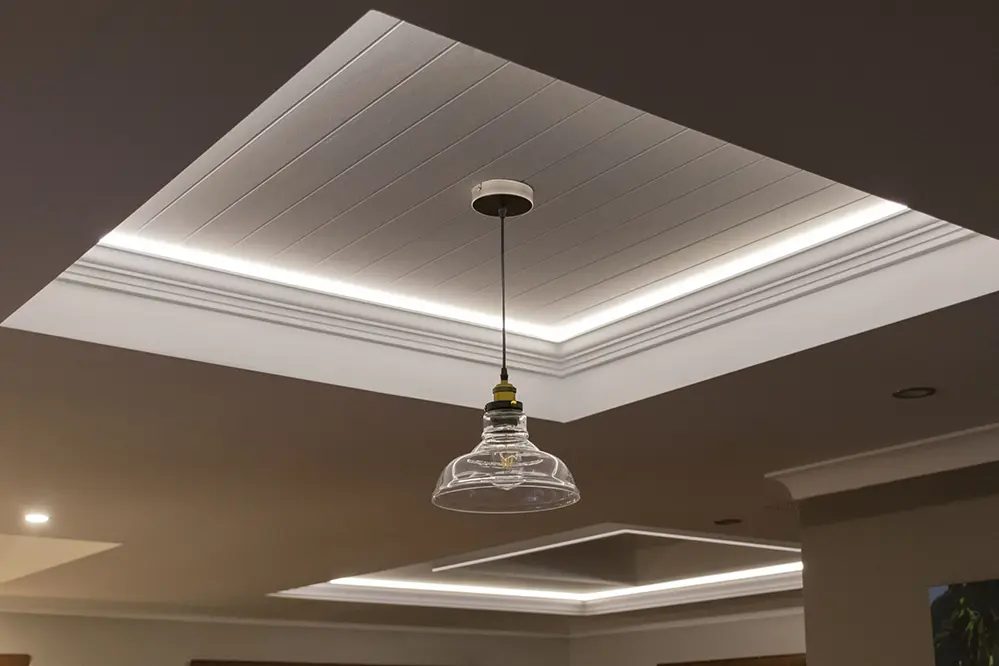
One effective method involves placing strips along architectural lines. This technique highlights a room’s unique design elements astonishingly well, fostering an ambiance of sophistication, creativity, and elegance.
Another aesthetic enhancement includes varying the color and brightness settings. Incorporating a dynamic range of hues can transform an ordinary setting into an extraordinary, visually stimulating experience. By tweaking these parameters, individuals can achieve a “wow” factor that mesmerizes all who walk in.
Maintaining Your LED Strip Lights
Proper maintenance is paramount to extending the longevity of your LED strip lights and ensuring they perform optimally.
Regularly dust the strip lights using a soft cloth to prevent buildup.
Cleaning the strips not only enhances their brightness but also minimizes any potential heat accumulation, which might otherwise diminish their effectiveness over time.
Additionally, ensure that the power supply connections remain secure and free of corrosion. A periodic inspection can preempt minor issues, thus guaranteeing continuous high-performance illumination. To further protect the investment, consider using a “surge protector” to safeguard against electrical spikes.
Conclusion
Installing LED strip lights on the ceiling can enhance any space, making it both functional and visually appealing. This DIY guide emphasizes planning, precise measurement, and proper installation techniques to ensure long-lasting results. The project not only improves ambiance but also allows for customization with various colors and brightness settings. Successfully completing this task fosters a sense of accomplishment and innovation, transforming living spaces and reflecting the occupants’ creativity and technical skill.
For those seeking high-quality LED strip lights and LED neon strips, contacting Unitop, a professional Chinese manufacturer, is highly recommended. Unitop offers a wide range of products that cater to various needs, ensuring durability and exceptional performance. By choosing Unitop, individuals can trust in the expertise and reliability of a leading manufacturer, making their DIY projects even more successful and satisfying. Transform your space with confidence, knowing that Unitop’s products will provide the perfect blend of functionality and aesthetic appeal.


