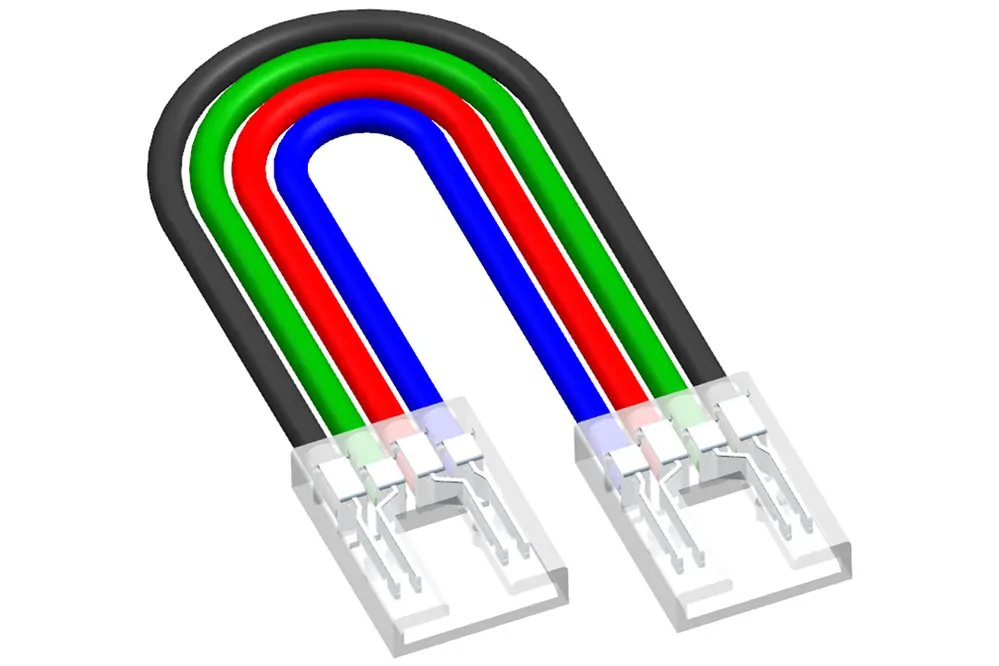
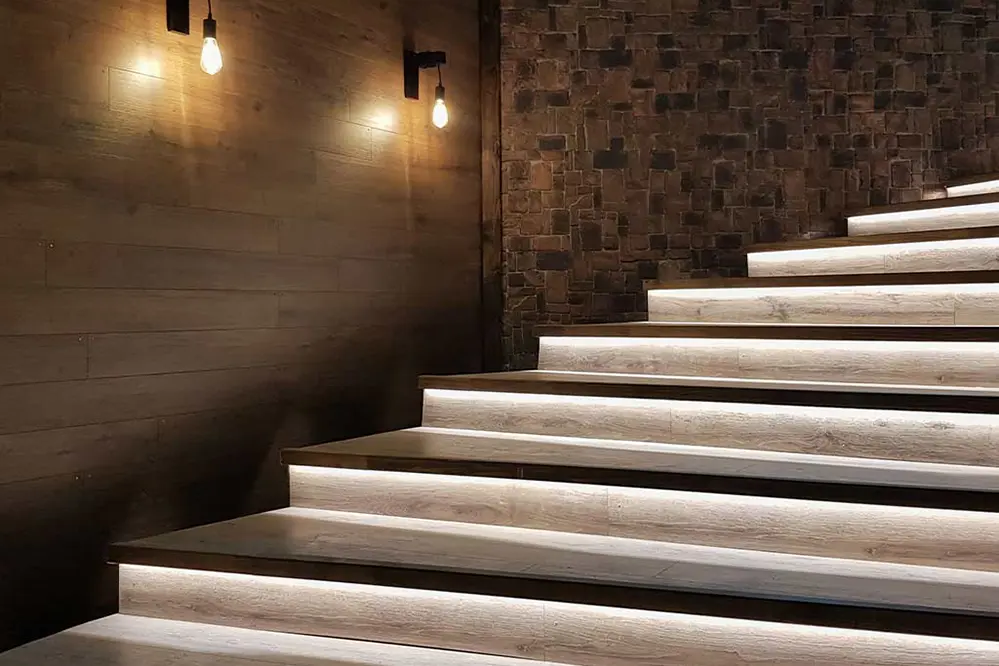
Imagine the scene: you’ve meticulously planned your lighting design, but your LED strip connector is not working, leaving your vision dimmed. This frustrating experience is familiar to many who embark on lighting projects.
Understanding the relevance of LED strip connectors and their common pitfalls is essential for anyone looking to achieve a flawless lighting setup. In this article, we’ll delve into the reasons behind connector failures and offer practical solutions to ensure your lighting project is a success.
Common Issues with LED Strip Connectors
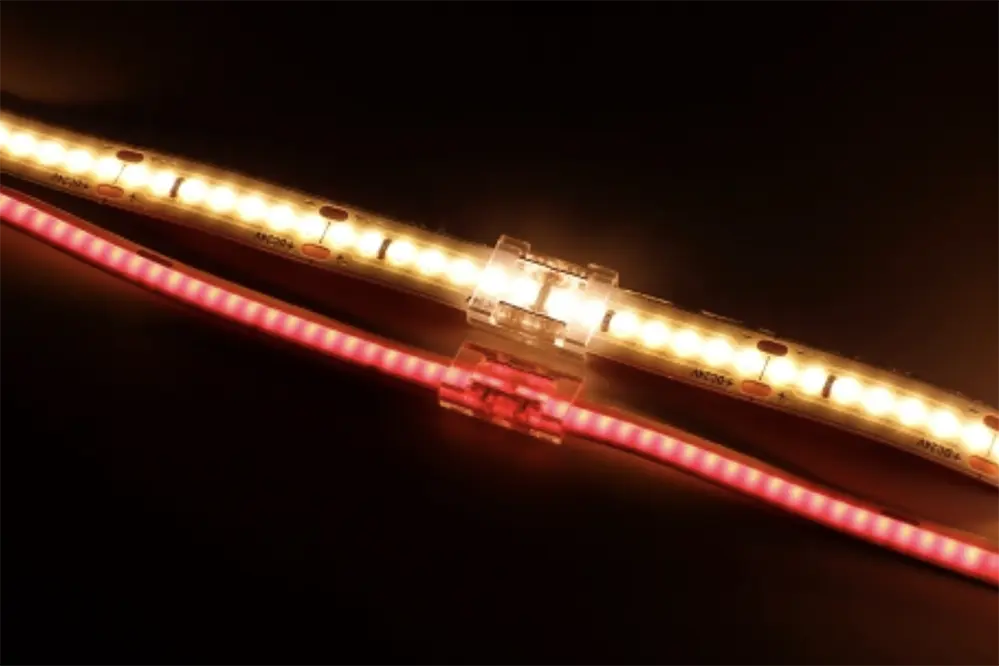
When engaging with LED strip connectors, a frequent issue is improper connection that can prevent the system from functioning optimally. This often hinders their potential to deliver seamless illumination.
Loose connections frequently boil down to misaligned contacts within the connector. Attention to detail during installation can circumvent many of these issues.
Additionally, mismatched voltage specifications between connectors and LED strips can lead to underperformance (insufficient brightness or flickering) and potential damage.
Dirty contact points may also impede electrical flow, underscoring the importance of maintaining clean and dust-free connections for optimal performance.
Damaged wires or connectors are another prevalent issue, highlighting why proper handling and careful inspection before installation are crucial to sustaining long-term functionality and aesthetics.
Ultimately, this set of conundrums doesn’t need to undermine your efforts. Implementing these insights equips you to tackle challenges, ensuring your LED setup performs with admirable brilliance.
Checking Power Supply Connections
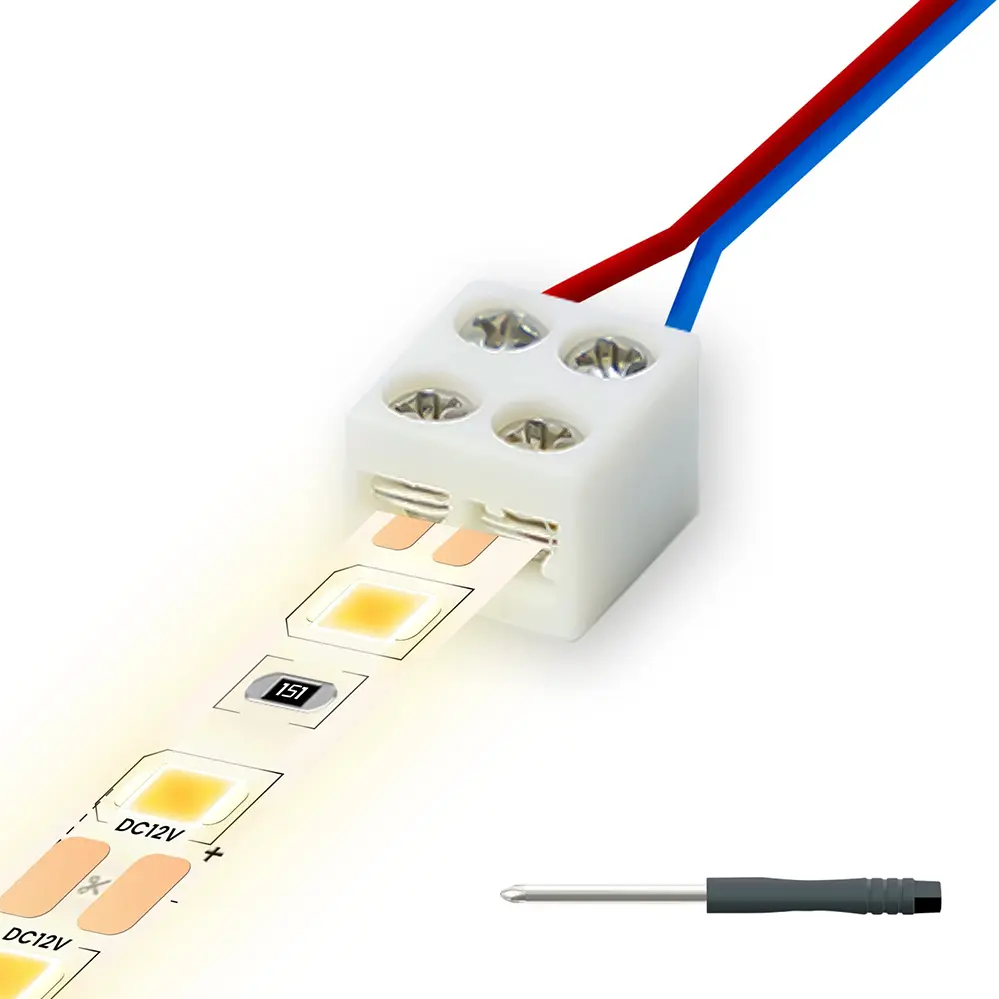
First and foremost, ensuring proper power supply connections is critical to solving issues with your LED strip connector.
When checking connections, be certain the power supply is a suitable match for your LED strip, confirming both voltage and amperage align perfectly to ward off underperformance. Sometimes power issues could arise from insufficient voltage, leading to dim lights or inconsistent illumination, emphasizing the significance of an appropriate power source.
Furthermore, make sure that all power cables are securely fastened to the connectors. Loose connections can result in erratic power supply delivery, which can in turn cause flickering or complete failure of your LED strip.
By adopting these meticulous practices, you can successfully attest to resolving intricate power issues before they escalate. This proactive approach not only fortifies the stability of your power connections but also reassures uninterrupted functionality of your LED setup, generating a luminous ambiance that meets your expectations and enhances the aesthetic value of your space.
Faulty LED Strip Connector Identification
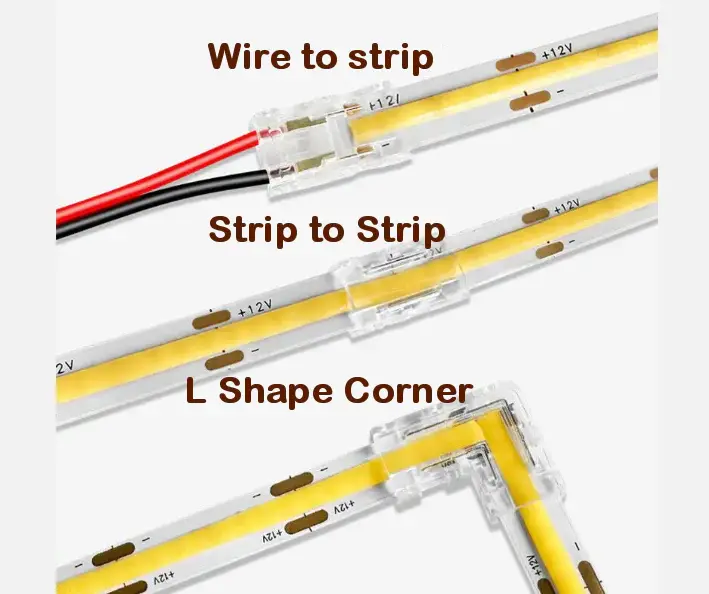
Identifying a faulty connector is crucial.
Begin by visually inspecting your LED strip setup. The first indication of any potential problem is often visible damage to connector housing, such as a crack or bend. Additionally, ensure all pins on the connector are tightly in place, as loose pins often lead to malfunction. Meticulously, observe for any signs of misalignment within the connections to the strip that could disrupt optimal performance.
Be sure to check the power source connections often.
Inspect the LED strip’s behavior for any – even the most minute – inconsistencies such as intermittent lighting or sudden dimming that might indicate a faulty connector-induced problem.
Unraveling these subtle errors could ultimately transform the reliability and efficiency of your overall LED strip system, empowering you to make well-informed decisions about necessary repairs or replacements. By leveraging this knowledge, you will not only sustain but enhance the delight of your LED illumination experience, inspiring creativity and innovation in achieving spectacular lighting effects for your environment.
Correct Installation Tips
Start with a precise plan.
Ensuring that your LED strip connectors are installed correctly can alleviate many future issues. The first step is to clean the connectors thoroughly, freeing them of any dust or debris that might compromise the connection. Ensure, as well, that all wiring is symmetrically aligned to the corresponding pins to prevent unwanted connectivity failures.
Prepare properly for smooth installation.
Double-check all connections before powering up – it’s the small steps that make a big difference in ensuring an optimally functioning system and safeguarding against short circuits that could compromise long-term operation.
Embrace the empowering simplicity of proper procedural implementation. By adopting these best practices, you not only optimize your installation strategy to 2023 standards but also position yourself to enjoy expanded longevity. Through precise installation, you harness enhanced lighting possibilities to brighten lives with inspiring brilliance.
Ensure Proper Connector Compatibility
Recognizing connector compatibility is an essential aspect of troubleshooting, especially when your LED strip connector is not working. Examine the type of connector your LED strip requires, matching it to the specifically designed corresponding connector, which will invariably ensure a robust and effective connection. Compatibility not only secures electrical efficiency but also harmonizes the connectivity, maximizes the performance of LED strips, and fully realizes the vibrant potential of your lighting design.
Different Types of LED Connectors
LED connectors come in various configurations, each offering a unique set of functionalities tailored for specific lighting setups. Differentiating between them ensures you choose the right fit for your project.
The most common types include “pin connectors,” snap mechanisms, and “clip connectors.” Each serves as a vital link in maintaining seamless connections, thereby guaranteeing optimal LED strip performance across diverse environments.
Properly chosen LED connectors, adapters, and accessories significantly extend the life of your LED strips, enhancing both durability and efficiency.
Selecting the appropriate connector: consider the dimensions of your LED strip, the type of installation environment (such as indoors or outdoors), and the power requirements of the LED strips. The intersection of these factors with your specific needs ultimately ensures that your lighting configuration shines with unwavering brilliance.
Assess Damaged Connector Contacts
A meticulous examination might reveal hidden damage.
First, visually inspect the connector contacts for any physical damage. These are the points that connect the LED strips to the power source, and even a minor misalignment can disrupt the flowing current. Observing, you may see hints of corrosion or indentation on the surface that subtly interfere with the continuity of power transmission.
Consider using a magnifying tool.
This tool will allow you to scrutinize tiny flaws – as even small imperfections can have dramatic implications if left unchecked. By actively addressing these micro-level errors, you maintain the overall macro-level robustness of the lighting assembly.
Replacing compromised contacts with high-quality components ensures consistent illumination, warding off any unexpected dimming. Taking action today, in 2023, means safeguarding against potential issues tomorrow. Resilient lighting solutions arise from conscientious attention to connector integrity.
Resolve Loose Connector Issues
Addressing loose connector issues involves patience, precision, and a thorough understanding of your LED setup. Often, a seamless connection speaks volumes of smooth electrical connectivity.
Loose connections arise from the relentless vibrations and movements that your LED strips endure daily.
Firstly, gently maneuver the connectors and LED strips; disconnect and reconnect (ensuring correct polarity) by snapping them firmly.
Next, double-check for proper compatibility of connectors and strip types, ensuring all components align perfectly.
Should the original connectors falter, it’s worthwhile to consider upgrading to more robust ones, patterned for a tighter and more resilient fit, thereby extending the longevity of your lighting systems.
Finally, spare no detail in aligning every clip—it’s the difference between inconsistency and brilliance. The confidence in your LED setup hinges on every secured connection made.
Testing the LED Strip Voltage
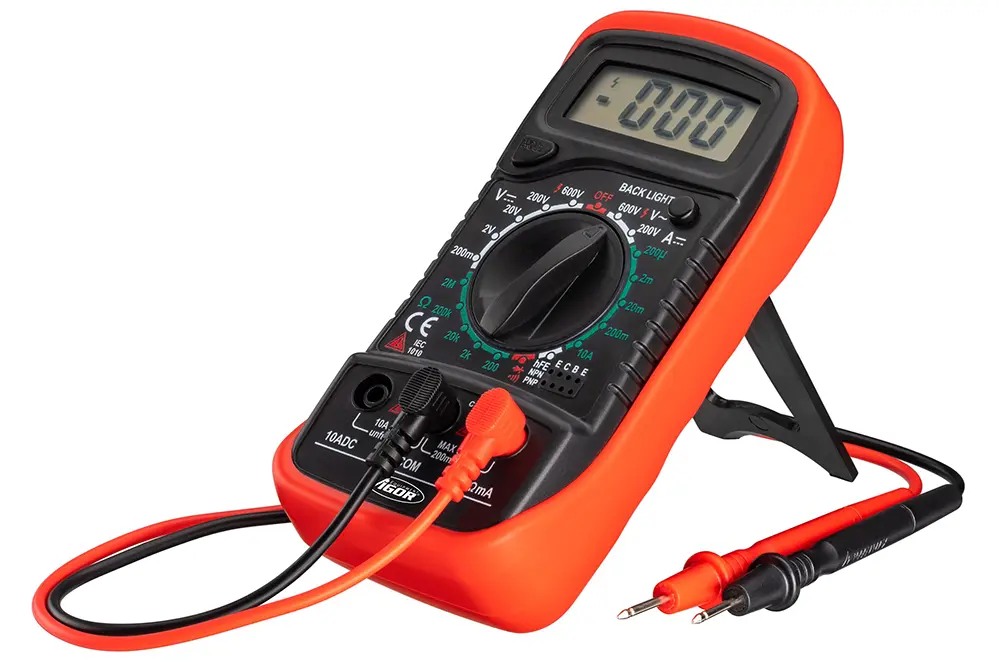
When troubleshooting an issue with your LED strip connector not working, measuring the voltage moving through your LED strip is a crucial step in identifying potential problems.
First, you’ll need a multimeter set to measure DC voltage.
Carefully, probe the multimeter leads along the positive and negative connections of your LED strip.
Ensure that measurements fall within the manufacturer’s recommended range, avoiding potential overvoltage or undervoltage scenarios.
This process helps in verifying that sufficient power reaches your strip, eliminating power supply issues or voltage drops as possible causes.
Ultimately, this proactive measure empowers you to swiftly identify and correct any electrical discrepancies, ensuring your LED strips shine their brightest.
Avoiding Short Circuits
To prevent your LED strip connector from not working, avoiding short circuits is of paramount importance to ensure smooth performance and longevity.
Avoiding short circuits involves being meticulous with your wiring setup and handling practices. Ensure all components are well-insulated, and no exposed wires are in contact with one another, which can lead to short circuits. Regular inspections for any wear or damage to your connectors can also preemptively identify potential issues, thus safeguarding your setup.
Moreover, take extra caution to use a dedicated circuit for your LED strips. By distributing power demands, you lower the risk of a short circuit that might arise from overload, preserving both the integrity and functionality of your lighting system.
By implementing these preventative strategies, you not only protect your LED strip connectors from short circuits but also extend the life of your components. This methodical approach results in a reliable, luminous display that reflects your dedication to detail and your commitment to achieving an impeccable lighting solution. With each connection safeguarded, you set the stage for unmatched brilliance.
Examine for Soldering Mistakes
Venturing into the realm of LED strip lighting, soldering can truly be an art form, yet even the most seasoned hands can err. When your LED strip connector is not working, one of the most common culprits is an oversight during the soldering process.
Mistakes in soldering often manifest in poor connections, which inhibit the flow of current.
Firstly, inspect whether there are cold solder joints present, identifiable by their dull or grainy appearance.
Cold solder joints usually occur when the solder fails to melt completely, resulting in an unreliable electrical connection.
Furthermore, excessive solder can lead to unintended bridging of connections, possibly causing short circuits that disrupt the entire strip.
Invest diligence in correcting these faults, ensuring an assurance of consistent performance. Improving solder quality can foster not just functionality but indeed a longevity in your LED arrangements.
Address Bent or Broken Pins
Bent or broken pins can significantly impact connectivity.
These tiny components play critical roles in your LED setup. Pins must align perfectly for your LED strip connector to function seamlessly, acting as tiny conductors channeling power and data. Unfortunately, it’s all too easy for these delicate structures to suffer damage in the excitement of setting up vibrant displays.
Inspect the connectors for any bent or broken pins.
Gently realign any bent pins—exercising patience and care will yield remarkable results. Use precision tools like tweezers to manipulate the pins into their intended positions, restoring the crucial connection they provide.
Recognize that fixing bent or broken pins can dramatically revolutionize your LED strip’s functionality, guiding you toward an exceptional lighting experience. With deft hands, keen eyes, and perseverance, you can restore your setup back to its illuminating potential, perfectly poised for our modern day advancement in lighting technology. Embrace this challenge as an opportunity to not only troubleshoot effectively but to enhance your expertise further.
Troubleshoot Connection Alignment
Aligning your LED strip connector correctly is pivotal to ensuring flawless operation and vibrant illumination, yet the intricacy often demands meticulous attention to detail.
Connection alignment issues can manifest due to improper seating or displacement.
Check if your LED strip connector is seated squarely on the pins; even the slightest misalignment can result in incomplete or inconsistent lighting. Employing your precision tools, refit the connector, ensuring it sits flush against the contact points.
Achieving perfect alignment is sometimes more art than science, demanding both patience and care. By approaching this troubleshooting step with optimism and confidence, you usher in a remarkable transformation in your lighting setup, turning potential obstacles into growth opportunities that hone your technical prowess. Trust in the process and your ability to succeed; the right alignment isn’t far away, and with it, a spectacular light display that truly shines.
Replace Defective Connectors
Recognizing when it’s necessary to replace a malfunctioning LED strip connector can save you time, prevent frustration, and ensure continued, vibrant illumination. Should persistent issues arise, it may be prudent to assess the condition of your connectors.
New connectors are not just replacements but enhancements, offering an opportunity to elevate your lighting experience and efficiency beyond initial expectations.
How to Choose a Replacement
Selecting the ideal replacement for your LED strip connector is pivotal to ensuring optimal performance and longevity. Focus on compatibility, and the rest will fall into place, bringing your vision to life.
Prioritize those brands whose connectors match the voltage of your strip.
When aiming for excellence, choose connectors made from high-quality materials that resist wear, a hallmark of innovation, reliability, and durability. Consider ease of installation as a valued trait, shaping a hassle-free experience.
Ultimately, your chosen connector should not only meet the basic electrical requirements but also enhance your creative potential, allowing your lighting to spark inspiration and ambiance. As you make this choice, remember that you are not merely solving a problem; you’re setting the stage for a captivating canvas of light.
Best Practices for LED Strip Maintenance
Maintaining your LED strip is vital for sustaining optimal performance and extending its lifespan effectively.
Regularly dusting and cleaning your LED strips ensures they remain free of debris, which can affect brightness and functionality. Utilizing a gentle, soft cloth prevents scratches and over-polishing.
Check all connections, as loose fittings can cause flickering or outages. Ensure connectors are snugly fitted, reinforcing the pathway for reliable power transmission and a consistent illumination experience.
Inspections should include looking for signs of wear, such as discoloration or fraying, which might signal it’s time for replacements. Addressing these issues early can prevent larger problems down the road.
Embrace these practices to keep your LED strips vibrant and illuminating your space perfectly.
Conclusion
In conclusion, LED strip connectors are essential for ensuring your lighting projects shine brilliantly.
Despite occasional challenges, solutions often present themselves with a little diligence.
By understanding potential problems, such as improper alignment or power inefficiencies, you can cultivate a more reliable and aesthetically rewarding lighting environment. This understanding empowers you to take informed actions, enhancing your confidence and creativity.
Remember, each obstacle represents an opportunity to learn and improve, leading to even more stunning results. With each troubleshooting step, you not only solve immediate problems but also develop a toolkit of skills that ensure future triumphs. Your pursuit of knowledge and skill refinement in handling LED connectors underscores an inspiring journey of continuous improvement and innovation.
